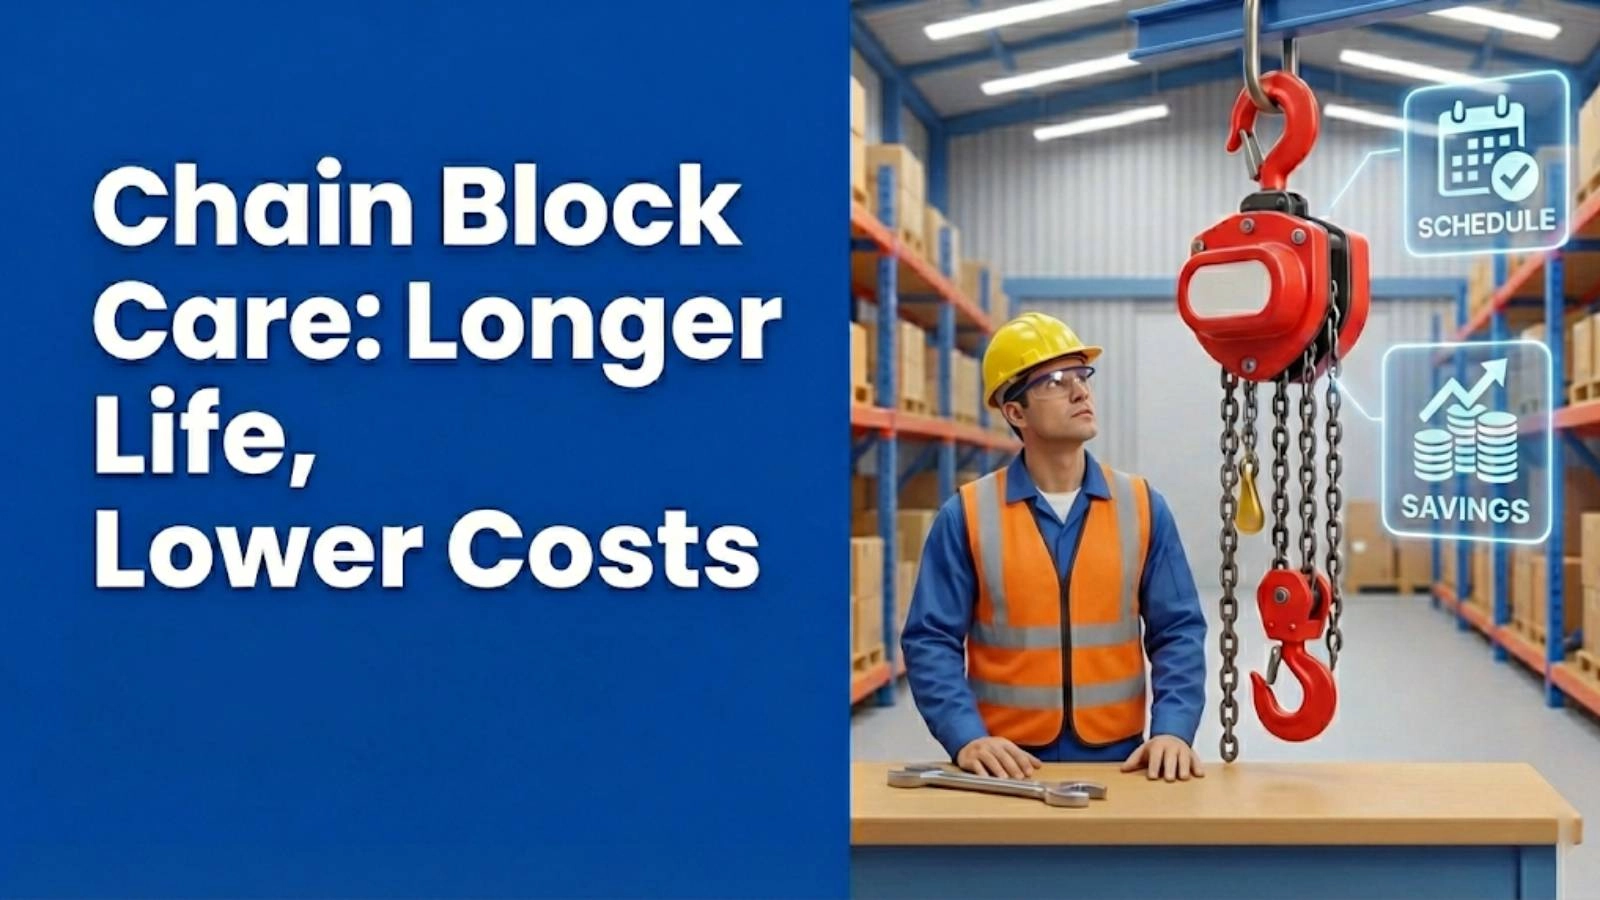
Chain blocks are indispensable tools in various industries, providing a safe and efficient means of lifting heavy loads. However, like any mechanical device, they are subject to wear and tear, and if not properly maintained, they can develop a range of chain block problems. Ignoring these issues can lead to equipment damage, operational delays, and, most importantly, serious safety hazards.
It’s crucial to understand that using faulty chain blocks can have severe consequences. A dropped load can cause significant property damage, injure workers, or even result in fatalities. At Safe and Secure Trading Company (SSTC), we prioritize safety above all else, and we want to equip you with the knowledge and skills necessary to identify and resolve common chain block problems before they escalate into dangerous situations.
This tutorial will guide you through the three most prevalent chain block problems: chain slippage, chain block jamming, and overload protection failure. We will provide a step-by-step approach to diagnosing the root causes of these issues and offer practical solutions to rectify them. In addition, we’ll emphasize the importance of regular inspection and preventative maintenance to ensure the safe and reliable operation of your chain blocks. Our team in Dubai constantly stresses the importance of regular inspections with our client partners.
Regular inspection and preventative maintenance are the cornerstones of safe and efficient chain block operation. By implementing a proactive maintenance program, you can detect potential problems early on, preventing costly repairs and minimizing the risk of accidents. This includes regular visual inspections, lubrication, and functional testing of critical components. Let’s dive into the first common problem: chain slippage.
Problem #1: Chain Slippage – Identifying and Resolving
Chain slippage is a dangerous condition that occurs when the load chain fails to grip the load sheave or chain wheel properly, causing the load to descend unexpectedly. This is probably one of the most dangerous chain block problems if not addressed. This can result in serious accidents and property damage. Recognizing the signs of chain slippage and addressing the underlying causes is crucial for maintaining a safe working environment.
Understanding Chain Slippage
Chain slippage occurs when the friction between the load chain and the load sheave (or chain wheel) is insufficient to support the weight of the load. This allows the chain to slide over the sheave, resulting in the load dropping or descending uncontrollably. This can occur even if the chain block overload protection is working properly. We once had a client who had a minor chain slippage issue that quickly turned into a major incident, highlighting the importance of addressing even seemingly minor symptoms promptly.
Chain blocks are meticulously designed to prevent slippage through a combination of factors: the precise geometry of the load sheave, the close tolerances between the chain and the sheave, and the friction generated by the weight of the load. The chain is designed to fit snugly into the grooves of the sheave, creating a high degree of friction that prevents slippage under normal operating conditions. When these conditions are compromised, slippage can occur.
Common Causes of Chain Slippage
Several factors can contribute to chain slippage, each requiring a specific troubleshooting approach. Identifying the root cause is essential for implementing an effective solution.
- Worn or damaged chain links: Over time, chain links can become worn, stretched, or damaged due to repeated use and exposure to harsh environments. This wear reduces the chain’s ability to properly engage with the load sheave, leading to slippage. Look for signs of elongation, corrosion, or deformation of the chain links.
- Excessive wear on the load sheave or chain wheel: The load sheave and chain wheel are the grooved components that the chain runs over. With prolonged use, these components can experience wear, causing the grooves to become rounded or damaged. This reduces the contact area between the chain and the sheave, decreasing friction and increasing the risk of slippage.
- Contamination (dirt, grease, debris) affecting grip: The presence of dirt, grease, or other debris on the chain or load sheave can significantly reduce friction, making it easier for the chain to slip. This contamination can act as a lubricant, preventing the chain from properly gripping the sheave. It’s important to ensure that the chain and sheave are clean and free of any contaminants. Hoist chain lubrication is important, but the wrong type or amount of lubricant can cause issues.
Troubleshooting Steps for Chain Slippage
Addressing chain slippage requires a systematic approach, starting with a thorough inspection and progressing to more detailed troubleshooting steps as needed.
- Visual inspection of the chain for damage and wear: Begin by carefully inspecting the entire length of the chain for any signs of damage, such as cracks, corrosion, or deformation of the links. Pay close attention to areas that are frequently exposed to high stress or friction. Check for excessive wear, which can manifest as a reduction in the chain’s diameter or an elongation of the links.
- Cleaning and lubricating the chain: If the chain appears to be contaminated with dirt, grease, or debris, thoroughly clean it using a suitable solvent or degreaser. Once the chain is clean, apply a thin, even coat of high-quality chain lubricant to reduce friction and protect against corrosion. Be sure to use a lubricant that is specifically designed for chain applications. Avoid over-lubrication, as this can attract more dirt and debris.
- Checking the load sheave and chain wheel for wear: Inspect the load sheave and chain wheel for signs of wear, such as rounded or damaged grooves. Use a caliper or other measuring tool to check the dimensions of the grooves and compare them to the manufacturer’s specifications. If the grooves are worn beyond the acceptable limits, the sheave or wheel should be replaced.
- Replacing worn or damaged components: If any of the components (chain, load sheave, or chain wheel) are found to be worn or damaged, they must be replaced immediately. Using worn or damaged components can compromise the safety and reliability of the chain block. Always use genuine replacement parts that meet the manufacturer’s specifications. This is a critical element of manual chain block repair.
Preventing Future Chain Slippage
Preventing chain slippage requires a proactive approach that includes regular inspection, proper lubrication, and the use of high-quality components.
- Implementing a regular chain inspection schedule: Establish a regular inspection schedule to detect potential problems early on. The frequency of inspections should be based on the usage intensity and the operating environment. For heavy-duty applications or harsh environments, more frequent inspections may be necessary.
- Proper lubrication practices: Follow the manufacturer’s recommendations for chain lubrication. Use a high-quality chain lubricant that is specifically designed for the application. Apply the lubricant regularly to reduce friction and protect against corrosion. Avoid over-lubrication, as this can attract more dirt and debris.
- Using high-quality replacement chains: When replacing chains, always use high-quality chains that meet the manufacturer’s specifications. Avoid using cheap or inferior chains, as they may not provide the necessary strength and durability. Ensure that the replacement chain is compatible with the load sheave and chain wheel.
Problem #2: Chain Block Jamming – Diagnosis and Solutions
Chain block jamming is another common issue that can disrupt operations and pose safety risks. Jamming occurs when the chain becomes stuck or obstructed within the chain block mechanism, preventing it from moving freely. This can be caused by a variety of factors, including kinks, twists, overloading, and foreign objects.
Understanding Chain Block Jamming
Chain block jamming disrupts smooth and efficient lifting operations, leading to delays and potential safety hazards. When the chain becomes jammed, it can prevent the operator from raising or lowering the load, potentially causing the load to become unstable or drop unexpectedly.
Smooth chain movement is essential for efficient lifting. The chain must be able to move freely through the chain block mechanism without any obstructions or restrictions. This allows the operator to control the load precisely and safely. When the chain is jammed, it can create excessive stress on the chain block components, potentially leading to damage or failure.
Common Causes of Chain Block Jamming
Several factors can contribute to chain block jamming, each requiring a specific diagnostic and repair approach.
- Kinks or twists in the chain: Kinks and twists in the chain can create significant friction and prevent the chain from moving smoothly through the chain block mechanism. These kinks and twists can be caused by improper chain storage, handling, or overloading.
- Overloading the chain block: Exceeding the chain block’s load capacity can cause the chain to stretch or deform, leading to jamming. Overloading can also damage the internal components of the chain block, such as the brake mechanism.
- Foreign objects obstructing the chain path: Foreign objects, such as dirt, debris, or small tools, can become lodged in the chain path, preventing the chain from moving freely. These obstructions can cause the chain to jam or bind, making it difficult or impossible to operate the chain block.
- Internal component failure (e.g., brake mechanism): Failure of internal components, such as the brake mechanism, can also cause chain block jamming. A malfunctioning brake mechanism can prevent the chain from moving freely or cause it to lock up completely.
Troubleshooting Steps for Chain Block Jamming
Resolving chain block jamming requires a systematic approach, starting with a visual inspection and progressing to more detailed troubleshooting steps as needed.
- Visual inspection for kinks, twists, or obstructions: Begin by carefully inspecting the chain for any kinks, twists, or obstructions. Pay close attention to areas where the chain enters or exits the chain block mechanism. If you find any kinks or twists, try to carefully straighten them out by hand. If you find any obstructions, remove them using a suitable tool.
- Attempting to manually unjam the chain (with caution): If the chain is only slightly jammed, you may be able to manually unjam it by carefully pulling or pushing on the chain. Use caution when attempting to manually unjam the chain, as sudden movements can cause the load to drop unexpectedly. Never use excessive force, as this can damage the chain or the chain block mechanism.
- Disassembling the chain block for internal inspection (if qualified): If you are unable to unjam the chain manually, or if you suspect that there may be an internal component failure, you may need to disassemble the chain block for internal inspection. Only qualified personnel should disassemble chain blocks, as improper disassembly can damage the components or create a safety hazard.
- Checking the brake mechanism for proper function: When disassembling the chain block, carefully inspect the brake mechanism for any signs of damage or malfunction. The brake mechanism is responsible for holding the load in place and preventing it from dropping unexpectedly. If the brake mechanism is not functioning properly, it must be repaired or replaced.
Preventing Future Chain Block Jamming
Preventing chain block jamming requires proper chain storage and handling, adherence to load capacity limits, and regular cleaning and maintenance.
- Proper chain storage and handling techniques: Store chains in a clean, dry place where they will not be exposed to kinks, twists, or other damage. When handling chains, avoid dragging them on the ground or allowing them to become tangled.
- Adhering to the chain block’s load capacity: Never exceed the chain block’s load capacity. Overloading can cause the chain to stretch or deform, leading to jamming and potentially damaging the chain block mechanism.
- Regular cleaning and maintenance to remove debris: Regularly clean and maintain chain blocks to remove dirt, debris, and other contaminants that can cause jamming. Lubricate the chain and other moving parts according to the manufacturer’s recommendations. Regular chain block maintenance is essential to safe operation.
Problem #3: Overload Protection Failure – Recognizing and Rectifying
Overload protection is a critical safety feature in chain blocks, designed to prevent the operator from lifting loads that exceed the chain block’s capacity. When the overload protection system fails, it can create a dangerous situation where the chain block is subjected to excessive stress, potentially leading to component failure and accidents.
Understanding Overload Protection
Overload protection mechanisms in chain blocks are designed to prevent the operator from lifting loads that exceed the chain block’s rated capacity. These mechanisms typically consist of a clutch or other device that will slip or disengage when the load exceeds the specified limit.
Overload protection is essential for safety because it prevents the chain block from being subjected to excessive stress, which can lead to component failure and accidents. Overloading can cause the chain to stretch or break, the load sheave to deform, or the brake mechanism to fail.
Common Causes of Overload Protection Failure
Several factors can contribute to overload protection failure, each requiring a specific diagnostic and repair approach.
- Damaged or malfunctioning overload clutch: The overload clutch is a critical component of the overload protection system. If the clutch is damaged or malfunctioning, it may not slip or disengage properly when the load exceeds the specified limit.
- Improper adjustment of the overload protection system: The overload protection system must be properly adjusted to ensure that it activates at the correct load limit. If the system is not properly adjusted, it may not provide adequate protection against overloading.
- Complete failure of the overload protection mechanism: In some cases, the overload protection mechanism may fail completely, rendering it unable to provide any protection against overloading. This can be caused by a variety of factors, such as wear and tear, corrosion, or impact damage.
Troubleshooting Steps for Overload Protection Failure
Addressing overload protection failure requires a systematic approach, starting with a visual inspection and progressing to more detailed troubleshooting steps as needed.
- Testing the overload protection mechanism (if qualified and with proper equipment): If you suspect that the overload protection mechanism is not functioning properly, you can test it using specialized equipment. This test involves applying a known load to the chain block and observing whether the overload protection mechanism activates at the correct load limit. Only qualified personnel should perform this test.
- Inspecting the overload clutch for damage: If the overload protection mechanism fails to activate at the correct load limit, inspect the overload clutch for any signs of damage, such as wear, corrosion, or cracks. If the clutch is damaged, it must be replaced.
- Adjusting the overload protection system according to manufacturer specifications: If the overload clutch appears to be in good condition, but the overload protection mechanism is still not functioning properly, the system may need to be adjusted according to the manufacturer’s specifications. This adjustment typically involves adjusting the tension on a spring or other component within the overload protection mechanism.
- Replacing faulty overload protection components: If any of the overload protection components are found to be faulty, they must be replaced immediately. Using faulty overload protection components can compromise the safety and reliability of the chain block.
Preventing Future Overload Protection Failure
Preventing overload protection failure requires regular inspection and testing, proper training for operators, and the use of calibrated weighing equipment.
- Regular inspection and testing of the overload protection system: Regularly inspect and test the overload protection system to ensure that it is functioning properly. The frequency of inspections and tests should be based on the usage intensity and the operating environment.
- Proper training for operators on recognizing overload situations: Operators should be properly trained to recognize overload situations and to avoid exceeding the chain block’s load capacity. Training should include instruction on how to read and interpret load charts, how to estimate the weight of loads, and how to use calibrated weighing equipment.
- Using calibrated weighing equipment to ensure loads are within capacity: Use calibrated weighing equipment to ensure that loads are within the chain block’s load capacity. This is especially important when lifting heavy or irregularly shaped loads, where it can be difficult to estimate the weight accurately.
> “Always double-check the load weight before lifting. It’s better to be safe than sorry!” – John Smith, Lead Safety Inspector
Pro Tip: Chain Block Load Chart
A chain block load chart is a critical document that specifies the maximum weight that a chain block can safely lift. It’s essential to understand and adhere to the information presented on the chart to prevent overloading and ensure safe operation. Neglecting the load chart is a common source of chain block problems.
The chain block load chart typically includes the following information:
- Rated Capacity: The maximum weight that the chain block can safely lift under normal operating conditions. This is usually expressed in pounds or kilograms.
- Working Load Limit (WLL): Similar to the rated capacity, the WLL represents the maximum load that the chain block is designed to handle.
- Safety Factor: A numerical value that indicates the margin of safety built into the chain block’s design. A higher safety factor indicates a greater margin of safety.
- Chain Size and Type: The specific type and size of chain that is compatible with the chain block.
- Inspection Criteria: Guidelines for inspecting the chain block for wear, damage, or other conditions that may compromise its safety.
Reading and understanding the information on the chain block load chart is crucial for safe operation. Before each lift, the operator should consult the load chart to ensure that the weight of the load does not exceed the chain block’s rated capacity.
It is important to never exceed the chart’s recommendations. Overloading a chain block can cause the chain to stretch or break, the load sheave to deform, or the brake mechanism to fail. This can lead to serious accidents and injuries.
Regular Chain Block Inspection Checklist
Regular inspections are essential for identifying potential problems and ensuring the safe and reliable operation of chain blocks. Here’s a checklist to help you conduct thorough inspections:
- ✅ Chain: Inspect the entire length of the chain for wear, damage, corrosion, or elongation.
- ✅ Load Sheave and Chain Wheel: Check the load sheave and chain wheel for wear, damage, or cracks.
- ✅ Hooks: Inspect the hooks for damage, deformation, or cracks. Ensure that the safety latches are functioning properly.
- ✅ Brake Mechanism: Test the brake mechanism to ensure that it holds the load securely.
- ✅ Overload Protection: Test the overload protection system to ensure that it activates at the correct load limit.
- ✅ Lubrication: Check the lubrication of the chain and other moving parts.
- ✅ Markings and Labels: Ensure that all markings and labels are legible and intact.
It is recommended that chain blocks be inspected at least every three months, or more frequently if they are used in heavy-duty applications or harsh environments. Maintaining your lifting equipment safety is paramount.
Lubrication Best Practices for Chain Blocks
Proper lubrication is essential for reducing friction, preventing corrosion, and extending the lifespan of chain blocks.
- Use a high-quality chain lubricant: Select a lubricant that is specifically designed for chain applications. Avoid using general-purpose lubricants, as they may not provide adequate protection against wear and corrosion.
- Lubricate the chain regularly: Lubricate the chain at least once a month, or more frequently if the chain block is used in heavy-duty applications or harsh environments.
- Apply the lubricant evenly: Apply the lubricant evenly to the entire length of the chain. Use a brush or spray to ensure that the lubricant penetrates all of the links.
- Wipe off excess lubricant: After lubricating the chain, wipe off any excess lubricant to prevent it from attracting dirt and debris.
The general rule of thumb is to lubricate your chain block every 30 days. However, if you use your chain block more frequently, you may need to do so more often. Some chain block manufacturers offer unique lubricants, so it is essential to verify which is needed for your brand of chain block.
Safe Operating Procedures for Chain Blocks
Following safe operating procedures is crucial for preventing accidents and ensuring the safe and reliable operation of chain blocks.
- Inspect the chain block before each use: Before each use, inspect the chain block for any signs of wear, damage, or malfunction.
- Use the correct lifting technique: Use the correct lifting technique to avoid overloading the chain block or creating undue stress on the components.
- Keep the load balanced: Keep the load balanced to prevent it from swaying or tipping.
- Avoid shock loading: Avoid shock loading the chain block, as this can damage the components and lead to failure.
- Never leave a suspended load unattended: Never leave a suspended load unattended.
- Use a spotter: Use a spotter to help guide the load and ensure that it is clear of obstructions.
Common warning signs for chain block failure include:
- Unusual noises, such as creaking, grinding, or popping sounds
- Difficulty lifting or lowering the load
- Jerky or erratic movement of the chain
- Visible signs of wear, damage, or corrosion
Troubleshooting Matrix
Here’s a quick reference guide to help you troubleshoot common chain block problems:
| Problem |
Possible Causes |
Troubleshooting Steps |
| Chain Slippage |
Worn chain, worn sheave, contamination |
Inspect chain, clean/lubricate, replace worn parts |
| Chain Jamming |
Kinks, overloading, obstructions |
Inspect for kinks/obstructions, unload, disassemble (if qualified) |
| Overload Failure |
Damaged clutch, improper adjustment |
Test mechanism, inspect clutch, adjust/replace components |
| Chain is difficult to pull |
Lack of lubrication, internal damage |
Lubricate chain, inspect for damage, replace components |
| Load drops unexpectedly |
Brake failure, worn components |
Inspect brake, replace worn parts, take out of service |
| Chain block is making noises |
Lack of lubrication, worn components, internal damage |
Lubricate chain, inspect for damage, replace components |
Conclusion: Recap of Achievement and Next Steps
In this tutorial, we’ve covered the three most common chain block problems: chain slippage, chain block jamming, and overload protection failure. We’ve provided detailed explanations of the causes of these problems, step-by-step troubleshooting guides, and preventative measures to ensure the safe and reliable operation of your chain blocks. We at Safe and Secure Trading Company hope this guide has helped improve your lifting equipment safety.
By understanding these common issues and implementing a proactive maintenance program, you can minimize the risk of accidents, prevent costly repairs, and extend the lifespan of your chain blocks. Remember, safety is paramount, and regular inspection and maintenance are essential for ensuring the safe and efficient operation of your lifting equipment.
We’re confident that you now have the knowledge to keep your chain blocks in optimal condition!
FAQ Section
Q: How often should I inspect my chain block?
A: We recommend inspecting your chain block at least every three months, or more frequently if it is used in heavy-duty applications or harsh environments.
Q: What type of lubricant should I use for my chain block?
A: Use a high-quality chain lubricant that is specifically designed for chain applications. Avoid using general-purpose lubricants, as they may not provide adequate protection against wear and corrosion.
Q: What should I do if my chain block is overloaded?
A: If your chain block is overloaded, immediately stop lifting and reduce the load to within the chain block’s rated capacity. Inspect the chain block for any signs of damage.
Q: Can I repair my own chain block?
A: Only qualified personnel should repair chain blocks. Improper repairs can compromise the safety and reliability of the chain block. If you are not qualified to repair your chain block, contact a qualified service technician. Manual chain block repair can be dangerous if you are not properly trained.
Q: How do I store my chain block when not in use?
A: Store your chain block in a clean, dry place where it will not be exposed to moisture, dirt, or other contaminants. Protect the chain from kinks, twists, or other damage.