Rigging screws are essential components in a wide range of applications, from construction and marine operations to theatrical rigging and industrial lifting. These devices, also known as turnbuckles, provide the critical function of adjusting tension and securing loads. However, the silent threat of rigging screw failure can lead to catastrophic consequences, including equipment damage, personal injury, and even fatalities.
Understanding the risks associated with rigging screw failure and implementing effective preventative measures is paramount for anyone involved in rigging operations. This guide will provide you with the knowledge and tools necessary to identify potential problems, maintain your rigging screws, and ensure the safety of your operations. It is extremely important to note that safe rigging practices must be implemented to avoid equipment failure.
Understanding Rigging Screw Basics
What is a Rigging Screw?
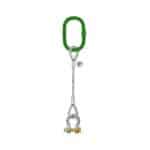
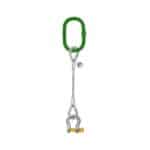
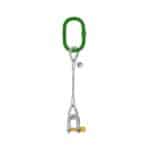
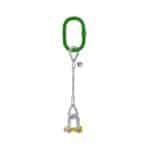
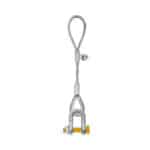
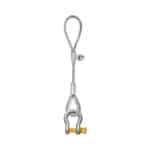
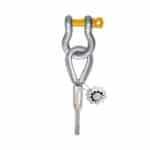
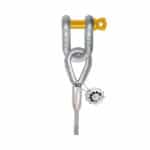
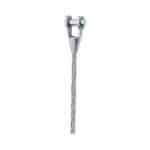
A rigging screw, at its core, is a simple yet ingenious mechanism designed to apply and adjust tension between two points. The device typically consists of a central body, also called the frame or the sleeve, and two end fittings that screw into either end of the body. These end fittings come in various configurations, including:
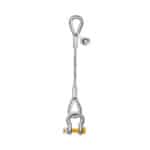
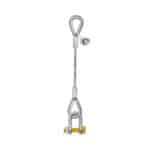
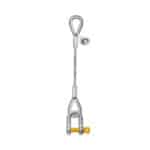
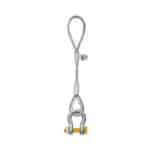
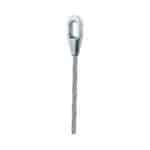
- Jaws: U-shaped clevises that connect to other components using pins or bolts.
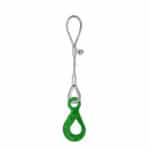
- Eyes: Closed loops used for direct attachment with shackles or hooks.
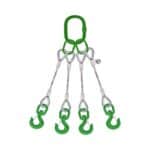
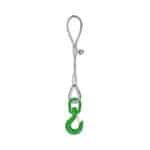
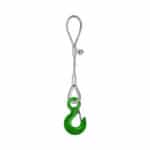
- Hooks: Designed for quick attachment and release, suitable for temporary connections.
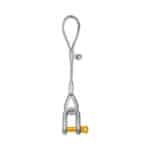
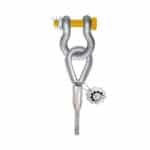
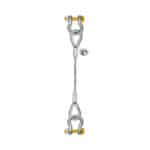
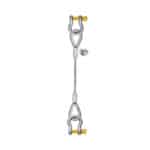
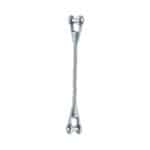
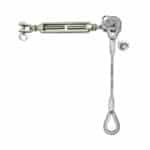
The components are designed for various application purposes. Rigging screws are available in various designs, each tailored to specific applications. Common types include:
- Jaw and Jaw: Both ends feature jaw fittings, ideal for connections requiring pivoting.
- Eye and Eye: Both ends have eye fittings, suitable for in-line tensioning.
- Hook and Eye/Jaw: Combination fittings offering versatility in connection options.
The versatility and adjustability of rigging screws make them indispensable in numerous industries. For example, in the marine industry, they are used for tensioning stays and shrouds on sailboats. In construction, they secure scaffolding and adjust formwork. In theatrical rigging, they are crucial for suspending lights and scenery.
Load Capacity and Safety Factors
Understanding the load capacity of a rigging screw is paramount to preventing rigging screw failure. The Working Load Limit (WLL) represents the maximum load that a rigging screw is designed to safely support under normal operating conditions. This limit is determined by the manufacturer and is typically marked on the rigging screw itself.
The safety factor is a crucial concept closely related to the WLL. It is the ratio between the minimum breaking strength (the point at which the rigging screw will fail) and the WLL. Safety factors are built in as a protective measure to accommodate unanticipated stresses, dynamic loads, and material variations. Here at Safe and Secure Trading Company (SSTC), we ensure that all equipment meets rigorous safety standards.
Exceeding the WLL is a critical mistake that can lead to immediate rigging hardware failure. Overloading can cause the rigging screw to deform, crack, or even break, resulting in catastrophic consequences. Always ensure that the load applied does not exceed the marked WLL and account for any additional stresses, such as dynamic loading (shock loads) or angular loading.
Identifying the WLL on your rigging screws is a straightforward process. The WLL is typically stamped or marked on the body or end fittings of the rigging screw. Look for markings such as “WLL,” “SWL” (Safe Working Load), or “Maximum Load.” The marking should be clear and legible. If the WLL is not clearly marked, or if the markings are worn or illegible, the rigging screw should not be used until its load capacity can be verified.
Common Materials and Their Properties
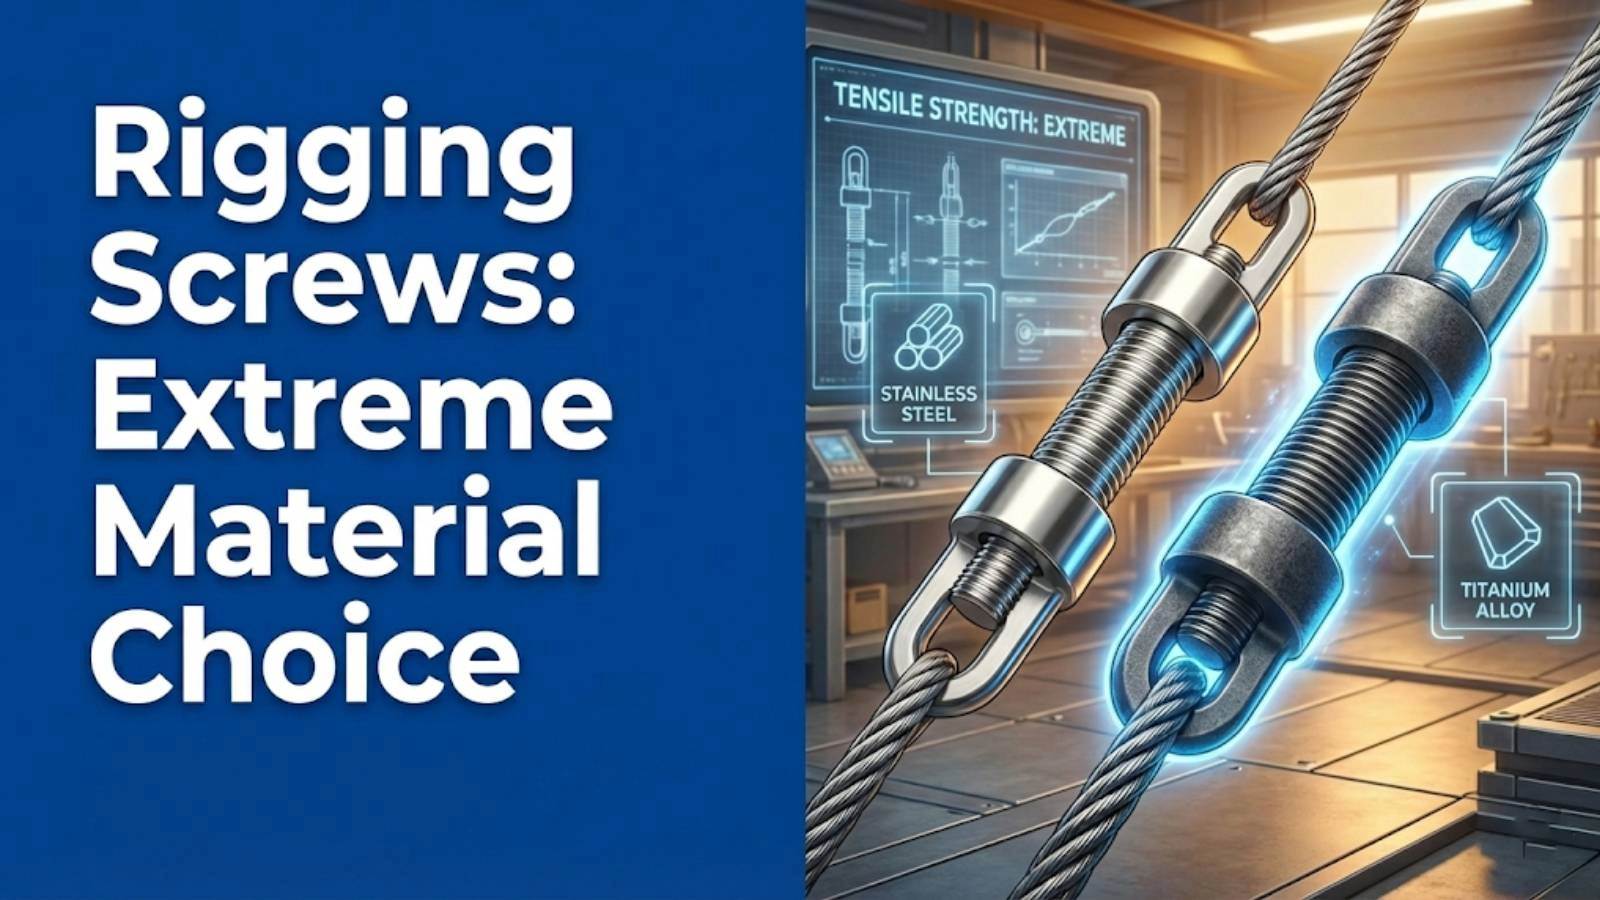
Rigging screws are manufactured from a variety of materials, each offering different properties and suitability for various applications. The most common materials include:
- Stainless Steel: Known for its excellent corrosion resistance, stainless steel is ideal for marine environments and applications where exposure to moisture or chemicals is likely. Different grades of stainless steel offer varying levels of corrosion resistance and strength.
- Carbon Steel: Carbon steel offers high strength and is commonly used in general rigging applications. However, it is susceptible to corrosion if not properly protected with coatings or treatments.
- Alloy Steel: Alloy steel provides enhanced strength and toughness compared to carbon steel. It is often used in heavy-duty applications where high loads and stresses are expected.
The performance of different materials varies significantly depending on the environment. Stainless steel is the preferred choice for marine and coastal environments due to its superior resistance to salt water corrosion. Carbon steel and alloy steel, on the other hand, may require protective coatings, such as galvanization or epoxy, to prevent corrosion in harsh environments. Understanding the properties of the materials used in your rigging screws is crucial for selecting the right type for your application and ensuring their longevity. We often advise clients in the shipping industry to prioritize stainless steel rigging screws for their superior corrosion resistance.
9 Essential Tips to Prevent Rigging Screw Failure
Tip 1: Regular Visual Inspections
Regular visual inspections are the cornerstone of rigging screw maintenance and preventing failures. These inspections should be conducted before each use and periodically during operation, depending on the frequency and severity of the usage.
Check for cracks, bends, and deformation in the rigging screw’s body, end fittings, and threads. Cracks can propagate rapidly under load, leading to catastrophic failure. Bends and deformations indicate that the rigging screw has been overloaded or subjected to excessive stress. If any of these defects are found, the rigging screw should be immediately removed from service.
Look for signs of corrosion or rust, which can significantly weaken the material. Corrosion often starts in areas of stress concentration, such as threads and welds. Rust can be removed with a wire brush and the area treated with a corrosion inhibitor. Severe corrosion indicates that the rigging screw should be replaced.
Examine the threads for damage or wear. Damaged threads can reduce the rigging screw’s load-carrying capacity and make it difficult to tighten or loosen. Thread damage can be caused by cross-threading, impact, or wear. If the threads are damaged, the rigging screw should be replaced.
We once had a client who overlooked a small crack in a rigging screw. During a lift, the crack propagated, causing the rigging screw to fail and nearly resulting in a serious accident. This highlights the critical importance of thorough visual inspections.
Tip 2: Proper Lubrication is Key
Proper lubrication is essential for reducing friction and wear between the threads of the rigging screw and its end fittings. Friction can cause the threads to bind, making it difficult to adjust the tension and increasing the risk of damage. Wear can gradually reduce the thread’s material, weakening the rigging screw and increasing the likelihood of failure.
Recommended lubricants vary depending on the environment and application. For general use, a high-quality multi-purpose grease is usually sufficient. In marine environments, a waterproof marine grease is recommended to prevent corrosion. For high-temperature applications, a specialized high-temperature grease should be used.
Apply lubricant to the threads before each use and periodically during operation. Ensure that the lubricant is evenly distributed over the entire thread surface. Use a brush or applicator to reach the threads inside the body of the rigging screw. Wipe off any excess lubricant to prevent dirt and debris from accumulating.
Tip 3: Correct Installation Techniques
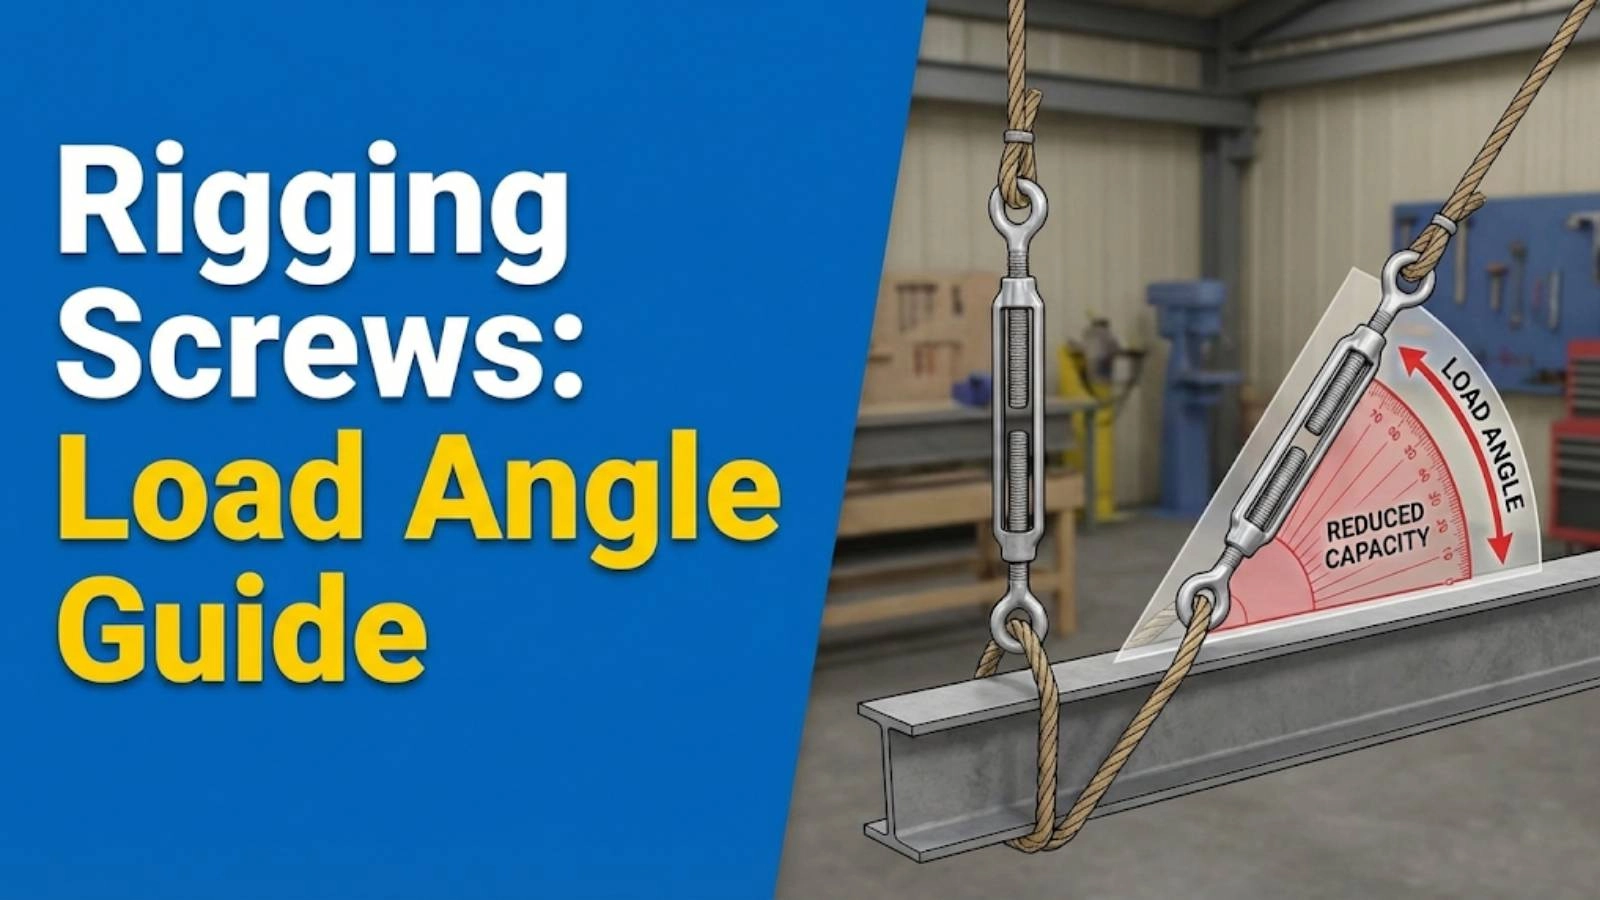
Correct installation techniques are vital to ensure that the rigging screw functions as intended and to prevent premature failure. Misalignment can place undue stress on the rigging screw, reducing its load capacity and increasing the risk of failure. Ensure that the rigging screw is aligned with the direction of the load and that the end fittings are properly seated.
Avoid cross-threading, which can damage the threads and make it difficult to tighten the rigging screw. Cross-threading occurs when the threads of the end fitting are not properly aligned with the threads of the body. This can be avoided by carefully aligning the threads before tightening and by using a thread chaser to clean and align the threads if necessary.
Use appropriate tools for tightening the rigging screw. Do not use excessive force, as this can damage the threads or the body of the rigging screw. Use a wrench or a specialized rigging screw tool to tighten the rigging screw to the recommended torque.
Tip 4: Avoid Overloading
Always stay within the WLL of the rigging screw. Overloading is a leading cause of rigging hardware failure. The WLL is the maximum load that the rigging screw is designed to safely support. Exceeding this limit can cause the rigging screw to deform, crack, or break.
Use a load cell to accurately measure the applied force. A load cell is a device that measures the force being applied to the rigging screw. This can help you ensure that you are not exceeding the WLL.
Consider dynamic loading (shock loads). Dynamic loads are sudden, unexpected forces that can significantly increase the stress on the rigging screw. These loads can be caused by sudden stops, starts, or impacts. Account for dynamic loading when calculating the load on the rigging screw.
Tip 5: Environmental Considerations
Protect rigging screws from harsh weather conditions, such as rain, snow, and extreme temperatures. Exposure to these conditions can accelerate corrosion and degrade the material of the rigging screw. Use protective covers or coatings to shield the rigging screws from the elements.
Use appropriate materials for corrosive environments. In marine environments, stainless steel rigging screws are recommended due to their excellent corrosion resistance. In industrial environments, coatings or treatments may be necessary to protect carbon steel or alloy steel rigging screws from corrosion.
Implement regular cleaning schedules to remove dirt, debris, and contaminants that can accelerate corrosion. Use a mild detergent and water to clean the rigging screws. Rinse thoroughly and allow to dry completely before applying lubricant.
When our team in Dubai tackles this issue, they often find that regular cleaning and the application of corrosion inhibitors significantly extend the lifespan of rigging screws in the region’s harsh climate.
Tip 6: Proper Storage Practices
Store rigging screws in a dry, clean environment to prevent corrosion and damage. Moisture can cause rust, while dirt and debris can accelerate wear. A clean, dry storage area will help prolong the life of your rigging screws.
Protect rigging screws from physical damage during storage. Avoid dropping or bumping them, as this can cause cracks or deformations. Store them in a manner that prevents them from rubbing against each other or other objects.
Consider using protective coatings or covers to further protect the rigging screws during storage. Coatings such as oil or grease can prevent rust, while covers can shield them from dust and debris.
Tip 7: Routine Maintenance Schedule
Create a schedule for regular inspections and lubrication. This schedule should be based on the frequency and severity of usage. Rigging screws that are used frequently or in harsh environments should be inspected and lubricated more often.
Document all inspections and maintenance activities. This documentation will help you track the condition of your rigging screws and identify potential problems early. Keep a record of the date, time, and findings of each inspection, as well as any maintenance performed.
Replace worn or damaged rigging screws promptly. Do not wait until a rigging screw fails before replacing it. Worn or damaged rigging screws are more likely to fail, which can lead to serious accidents.
“Preventative maintenance is the key to ensuring the longevity and safety of rigging equipment. Regular inspections and timely replacements can prevent costly and dangerous failures.” – John Smith, Lead Safety Inspector
Tip 8: Training and Education
Ensure that all personnel are properly trained in rigging safety. Training should cover topics such as the proper use of rigging screws, load capacity, inspection procedures, and safe operating practices.
Provide ongoing education and updates on best practices. Rigging safety standards and best practices are constantly evolving. Provide ongoing education and updates to ensure that personnel are up-to-date on the latest information.
Emphasize the importance of following safety procedures. Safety procedures are designed to protect personnel and equipment from harm. Emphasize the importance of following these procedures at all times.
Tip 9: Document Everything
Maintain detailed records of inspections, maintenance, and repairs. These records provide a valuable history of each rigging screw, helping to track its condition and identify potential issues early. The records should include the date of each inspection, the findings, any maintenance performed, and the name of the person who performed the work.
Keep track of the age and usage of each rigging screw. This information can help you determine when a rigging screw should be retired from service. Rigging screws that have been used extensively or are nearing the end of their service life should be inspected more frequently and replaced as needed.
Use a digital system to manage rigging hardware information. Digital systems can streamline the process of tracking and managing rigging hardware information. These systems can provide alerts when inspections are due, track maintenance activities, and generate reports on the condition of your rigging hardware. Approximately 70% of companies still use manual tracking methods for critical hardware, leading to oversight.
Recognizing the Warning Signs of Failure
Identifying Cracks and Deformations
Learning to spot hairline cracks is crucial. These cracks can be difficult to see with the naked eye, but they can propagate rapidly under load, leading to catastrophic failure. Use a magnifying glass and good lighting to inspect the rigging screw for hairline cracks. Pay close attention to areas of stress concentration, such as threads and welds.
Recognizing bending or distortion is another key aspect. Bending or distortion indicates that the rigging screw has been overloaded or subjected to excessive stress. If you notice any bending or distortion, remove the rigging screw from service immediately.
Detecting Corrosion and Rust
Different types of corrosion can affect rigging screws. Surface corrosion appears as a reddish-brown discoloration on the surface of the metal. Pitting corrosion creates small pits or holes in the metal. Galvanic corrosion occurs when two dissimilar metals are in contact in the presence of an electrolyte, such as salt water.
The impact of rust on strength cannot be overstated. Rust weakens the metal, reducing its load-carrying capacity. Remove rust with a wire brush and treat the area with a corrosion inhibitor. If the rust is severe, replace the rigging screw.
Unusual Noises and Vibrations
Grinding, creaking, or popping sounds can indicate that the threads of the rigging screw are damaged or worn. These sounds may also indicate that the rigging screw is overloaded or misaligned.
Excessive vibration under load can be a sign of loose connections or internal damage. If you notice excessive vibration, stop using the rigging screw and inspect it for damage.
Troubleshooting Common Problems
Stuck or Seized Rigging Screws
Techniques for loosening stuck threads include applying penetrating oil and using a wrench to gently loosen the threads. Be careful not to damage the threads when applying force.
When to use penetrating oil or heat depends on the severity of the problem. Penetrating oil can help to loosen rust and corrosion, while heat can expand the metal, making it easier to loosen the threads. Use heat sparingly, as excessive heat can weaken the metal.
Corrosion Issues
Methods for removing rust and corrosion include using a wire brush, sandpaper, or a chemical rust remover. Be sure to follow the manufacturer’s instructions when using chemical rust removers.
Preventative coatings and treatments can help to protect rigging screws from corrosion. These coatings include galvanization, epoxy coatings, and corrosion inhibitors. Apply these coatings regularly to prolong the life of your rigging screws.
Thread Damage
Assessing the severity of thread damage is crucial for determining whether to repair or replace the rigging screw. Minor thread damage can often be repaired with a thread chaser. However, severe thread damage may require replacement of the entire rigging screw.
When to repair or replace damaged threads depends on the extent of the damage and the cost of repair. In general, it is more cost-effective to replace a rigging screw with severely damaged threads than to attempt to repair it.
| Problem |
Possible Cause |
Solution |
| Stuck Threads |
Corrosion, dirt, or lack of lubrication |
Apply penetrating oil, use a wrench, and gently loosen the threads. |
| Corrosion |
Exposure to moisture, salt water, or chemicals |
Remove rust with a wire brush, apply a corrosion inhibitor, and use appropriate coatings. |
| Thread Damage |
Cross-threading, impact, or wear |
Repair minor damage with a thread chaser. Replace severely damaged rigging screws. |
| Overloading |
Exceeding the WLL |
Use a load cell to accurately measure the applied force and stay within the WLL. |
| Bending or Deformation |
Excessive stress or overloading |
Replace the rigging screw immediately. |
Conclusion: Ensuring Safety and Preventing Failure
In conclusion, preventing rigging screw failure requires a proactive approach that includes regular visual inspections, proper lubrication, correct installation techniques, avoiding overloading, environmental considerations, proper storage practices, routine maintenance schedules, training and education, and thorough documentation. By implementing these measures, you can significantly reduce the risk of rigging screw failure and ensure the safety of your operations.
Remember, regular inspections and maintenance are not just best practices, they are essential for preventing accidents and ensuring the longevity of your equipment. We are confident that by following these guidelines, you can maintain a safe and efficient working environment.
FAQ Section
Q: How often should I inspect my rigging screws?
A: Rigging screws should be inspected before each use and periodically during operation, depending on the frequency and severity of the usage. Rigging screws that are used frequently or in harsh environments should be inspected more often. At the very least, perform a visual inspection of rigging every three months.
Q: What type of lubricant should I use on my rigging screws?
A: The recommended lubricant depends on the environment and application. For general use, a high-quality multi-purpose grease is usually sufficient. In marine environments, a waterproof marine grease is recommended. For high-temperature applications, a specialized high-temperature grease should be used.
Q: How do I know if my rigging screw is overloaded?
A: Use a load cell to accurately measure the applied force. If the load exceeds the WLL of the rigging screw, it is overloaded. You may also notice signs of deformation, such as bending or distortion.
Q: What should I do if I find a crack in my rigging screw?
A: Remove the rigging screw from service immediately. Cracks can propagate rapidly under load, leading to catastrophic failure. Replace the rigging screw with a new one.
Q: Can I repair a damaged rigging screw?
A: Minor thread damage can often be repaired with a thread chaser. However, severe thread damage or damage to the body or end fittings may require replacement of the entire rigging screw. It is best to replace a rigging screw with damaged threads.
Q: How can I prevent corrosion on my rigging screws?
A: Protect rigging screws from harsh weather conditions, use appropriate materials for corrosive environments, and implement regular cleaning schedules. Apply protective coatings or treatments, such as galvanization, epoxy coatings, or corrosion inhibitors. Regular corrosion prevention can significantly increase rigging screw lifespan.
Q: What is the importance of thread lubrication in preventing rigging screw failure?
A: Thread lubrication is vital as it reduces friction and wear between the threads, ensuring smooth operation and preventing damage.
Q: What are the safe rigging practices to be followed when using rigging screws?
A: Safe rigging practices include regular inspections, not exceeding the WLL, using the correct type of rigging screw for the job, and ensuring proper alignment and secure connections.
Q: How does visual inspection of rigging help in preventing accidents?
A: Visual inspection of rigging helps in identifying early signs of damage or wear, such as cracks or corrosion, which allows for timely replacement and prevents potential accidents.
Q: How does rigging screw maintenance contribute to safety?
A: Rigging screw maintenance reduces the likelihood of accidents and ensures that all equipment is working in optimal condition.