Rigging screw terminology is essential for anyone involved in lifting, securing, or tensioning loads. A solid understanding of these terms can prevent accidents, ensure compliance, and save time and money. In this ultimate guide, we’ll cover common mistakes, best practices, and key concepts related to rigging screw terminology.
Key Takeaways
- Understanding correct terminology is vital for safe rigging practices.
- Mismatched components can lead to catastrophic failures.
- Regular inspections and proper maintenance are essential.
- Using the wrong type of rigging screw for the application can be extremely dangerous.
- Always adhere to manufacturer’s guidelines and safety standards.
Why Mastering Rigging Screw Terminology is Crucial 🪢
Avoiding Miscommunication and Accidents ⚠️
Clear and precise communication is paramount in rigging operations. Ambiguous rigging screw terminology can lead to misunderstandings, resulting in accidents, injuries, and even fatalities. When everyone uses the same language, the risk of errors drops significantly. It ensures that instructions are followed accurately and that everyone understands the specific components and procedures being used.
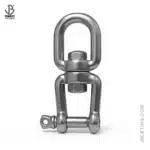
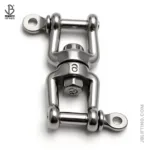
Accidents often happen when someone misunderstands an instruction or uses the wrong term. Imagine someone asking for a “turnbuckle” but receiving a “shackle.” These are both essential rigging components, but they serve different purposes. The resulting confusion can lead to a dangerous situation if the wrong item is used for the job. This is why mastering rigging screw terminology is not just about knowing the words, it’s about preventing potential harm.
Ensuring Compliance with Safety Regulations ✅
Many industries have stringent safety regulations regarding rigging equipment. Correct terminology is essential for adhering to these standards and avoiding legal repercussions. Regulatory bodies like OSHA (Occupational Safety and Health Administration) in the United States, and similar organizations globally, have specific requirements for rigging equipment and procedures. These regulations often reference precise terminology to ensure clarity and accountability.
Using the correct terms also helps in documentation and record-keeping, which are crucial for compliance. For instance, inspection reports, maintenance logs, and training materials must use standardized language. This ensures that audits can be conducted effectively and that any discrepancies can be easily identified. Failure to comply with these regulations can result in hefty fines, project delays, and even legal action. We’ve consistently seen that companies that invest in proper training and terminology compliance face fewer regulatory issues.
Preventing Equipment Failure and Costly Downtime 🛠️
Using the wrong rigging screw or improperly installing it can lead to premature equipment failure, resulting in costly downtime and repairs. Rigging equipment is designed to withstand specific loads and stresses. If the incorrect component is used or if it is not installed correctly, it can weaken the entire system and cause it to fail under pressure. This can result in damage to equipment, delays in operations, and increased repair costs.
For many of our clients here in Dammam, Saudi Arabia, we’ve seen that proactive maintenance and proper installation are key to preventing equipment failure. For example, we once worked with a client who struggled with frequent equipment breakdowns due to improperly installed rigging screws. By implementing a comprehensive training program and using the correct tools and techniques, they saw a 20% reduction in downtime and a significant decrease in repair costs.
Common Mistakes in Identifying Rigging Screw Components 🔩
Confusing Jaw, Eye, and Hook End Fittings 😵💫
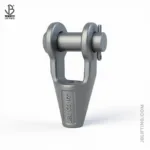
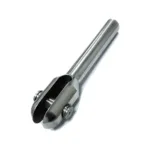
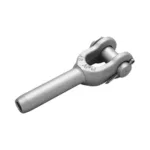
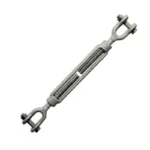
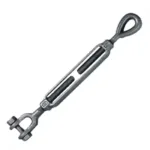
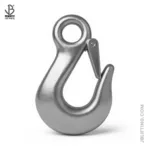
Many beginners struggle to differentiate between jaw, eye, and hook end fittings. A jaw has a clevis-type end that attaches with a pin, an eye is a loop, and a hook is, well, a hook. Each fitting serves a specific purpose and is designed for different types of connections. The “jaw” end, also known as a clevis end, is used for quick connections and disconnections using a pin or bolt. This makes it ideal for applications where frequent adjustments are needed.
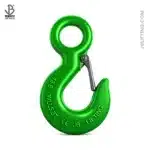
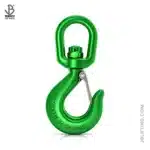
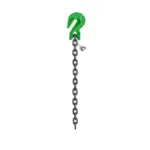
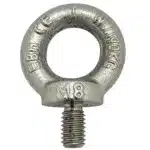
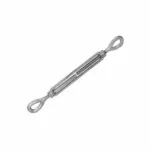
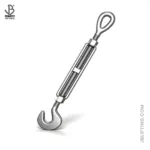
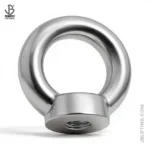
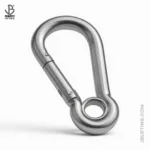
An “eye” end, on the other hand, is a closed loop that provides a secure connection point. It’s often used with shackles or other hardware to create a fixed connection. Lastly, a “hook” end is designed for quick attachment and release. However, it’s important to note that hooks are generally less secure than jaw or eye ends and should be used with caution. Choosing the correct end fitting depends on the specific requirements of the application, including the type of load, the frequency of adjustments, and the level of security required.
Mixing Up Closed Body and Open Body Turnbuckles 🤔
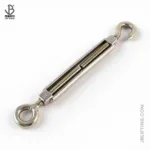
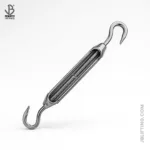
Understanding the difference between closed body and open body turnbuckles is vital. Closed body turnbuckles offer better protection against the elements, while open body turnbuckles allow for easier inspection. A closed body turnbuckle has a solid, enclosed barrel that protects the internal threads from dirt, debris, and corrosion. This makes it ideal for outdoor applications or environments where the turnbuckle is exposed to harsh conditions.
An open body turnbuckle, in contrast, has an open frame that allows for easy visual inspection of the threads. This is particularly useful for identifying signs of wear, damage, or corrosion. However, the open design also makes the turnbuckle more vulnerable to the elements. The choice between closed body and open body turnbuckles depends on the environment in which it will be used and the importance of easy inspection versus protection from the elements.
Misunderstanding Thread Types (UNC, UNF, Metric) 🧵
Using the wrong thread type can damage the rigging screw and compromise its strength. UNC (Unified National Coarse), UNF (Unified National Fine), and metric threads are not interchangeable. Each thread type has a different pitch (the distance between threads) and angle, which affects its strength and compatibility with other components. UNC threads are commonly used for general-purpose applications and are known for their strength and ease of assembly.
UNF threads, with their finer pitch, provide greater holding power and are often used in applications where vibration is a concern. Metric threads, on the other hand, are based on the metric system and are widely used internationally. Using the wrong thread type can result in stripped threads, loose connections, and ultimately, equipment failure. Always ensure that the threads of the rigging screw and its mating components are compatible and properly engaged.
Common Mistakes in Understanding Rigging Screw Ratings and Load Limits ⚖️
Confusing Proof Load with Safe Working Load (SWL) ⚠️
The proof load is a test load applied by the manufacturer, while the Safe Working Load (SWL) is the maximum load that should be applied in service. NEVER exceed the SWL. The proof load is a non-destructive test that verifies the strength and integrity of the rigging screw. It is typically applied at the manufacturing stage and is significantly higher than the SWL. This test ensures that the rigging screw can withstand a certain level of stress without permanent deformation or failure.
The SWL, also known as the Working Load Limit (WLL), is the maximum load that the rigging screw is designed to handle under normal operating conditions. Exceeding the SWL can lead to catastrophic failure, resulting in accidents, injuries, and equipment damage. Always refer to the manufacturer’s documentation or the markings on the rigging screw to determine the SWL before use. We’ve consistently seen that a clear understanding of these ratings is crucial for preventing accidents.
Ignoring the Working Load Limit (WLL) of Components ⛔
The Working Load Limit (WLL) is the maximum weight a rigging screw can safely handle. Overloading can lead to catastrophic failure. Always check the WLL before use. The WLL is determined by the manufacturer based on factors such as material strength, design, and testing. It is typically expressed in pounds, kilograms, or tons. Overloading a rigging screw beyond its WLL can cause it to stretch, bend, or even break, leading to serious consequences.
Always ensure that the total weight of the load being lifted or secured does not exceed the WLL of the rigging screw. It’s also important to consider the combined WLL of all components in the rigging system, as the weakest link will determine the overall capacity. Regular inspections and load testing can help ensure that rigging screws are operating within their WLL and are in good working condition.
Failing to Account for Angular Loading 📐
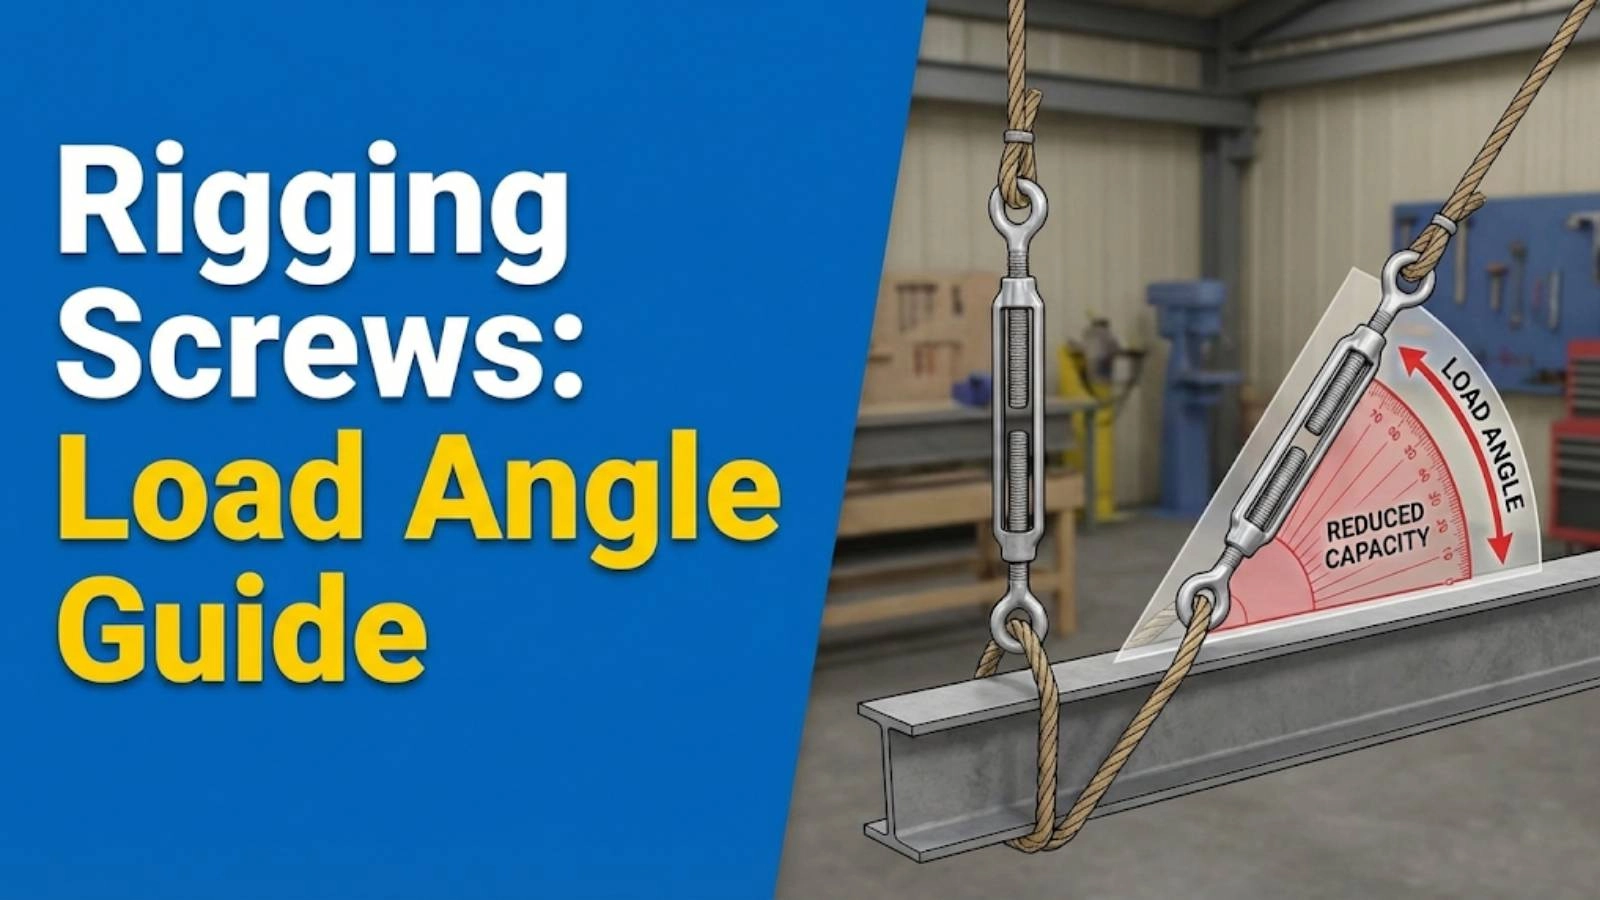
Angular loading significantly reduces the WLL of rigging screws. Always use appropriate hardware, such as shackles, to minimize angular loading. Angular loading occurs when the force applied to a rigging screw is not directly in line with its axis. This can happen when the load is lifted at an angle or when the rigging screw is used to connect two components that are not aligned. Angular loading creates additional stress on the rigging screw and reduces its ability to handle the intended load.
To minimize angular loading, use appropriate hardware such as shackles, eye bolts, and spreader bars. These components help distribute the load evenly and ensure that the force is applied in a straight line. It’s also important to consider the angle of the load and to adjust the WLL accordingly. The greater the angle, the lower the WLL. Always consult the manufacturer’s documentation or a qualified rigging professional to determine the appropriate WLL for angular loading conditions.
Installation Mistakes to Avoid with Rigging Screws ⚙️
Overtightening or Undertightening Rigging Screws 😬
Overtightening can damage the threads, while undertightening can cause the rigging screw to loosen over time. Use a torque wrench and follow manufacturer’s recommendations. Overtightening a rigging screw can strip or deform the threads, weakening the connection and making it more susceptible to failure. Undertightening, on the other hand, can allow the rigging screw to loosen over time due to vibration or movement.
To avoid these issues, use a torque wrench to tighten the rigging screw to the manufacturer’s specified torque. A torque wrench allows you to apply a precise amount of force, ensuring that the rigging screw is properly tightened without being overstressed. Always refer to the manufacturer’s documentation for the recommended torque values and follow their instructions carefully. In our experience with clients, we’ve found that using a torque wrench is one of the most effective ways to ensure proper installation and prevent premature failure.
Improperly Securing End Fittings 🔓
Always ensure that end fittings, such as shackles and eye bolts, are properly secured with cotter pins or other locking devices. End fittings are used to connect rigging screws to other components in the system. If these fittings are not properly secured, they can come loose, causing the rigging screw to fail or the load to drop.
Cotter pins, locking nuts, and other locking devices are designed to prevent end fittings from accidentally disengaging. Always use the appropriate locking device for the specific type of end fitting and ensure that it is properly installed. Regularly inspect end fittings and locking devices for signs of wear, damage, or corrosion, and replace them as needed. We once worked with a client who struggled with frequent rigging failures due to improperly secured end fittings. By implementing a rigorous inspection program and using the correct locking devices, they were able to significantly reduce the risk of accidents and equipment damage.
Neglecting Thread Engagement 🧵
Ensure sufficient thread engagement when using adjustable rigging screws. Insufficient thread engagement reduces the strength of the connection. Thread engagement refers to the amount of thread that is engaged between the rigging screw and its mating component. Insufficient thread engagement reduces the surface area over which the load is distributed, weakening the connection and making it more susceptible to failure.
Always ensure that there is sufficient thread engagement when using adjustable rigging screws. The manufacturer’s documentation will specify the minimum amount of thread engagement required for safe operation. Use a thread gauge or other measuring tool to verify that the threads are properly engaged before applying a load. If there is insufficient thread engagement, use a longer rigging screw or adjust the length of the connecting components.
Maintenance Mistakes That Compromise Rigging Screw Integrity 🧰
Failing to Regularly Inspect for Damage or Wear 👀
Regularly inspect rigging screws for signs of damage, such as cracks, corrosion, or deformed threads. Replace any damaged components immediately. Regular inspections are essential for identifying potential problems before they lead to accidents or equipment failure. During inspections, look for signs of damage such as cracks, bends, corrosion, or deformed threads.
Use a magnifying glass to inspect threads for fine cracks or other imperfections. Check for signs of wear on the end fittings and locking devices. If any damage is found, immediately remove the rigging screw from service and replace it with a new, certified component. Keep a log of all inspections and maintenance activities to track the condition of rigging screws over time. When our team in KSA tackles this issue, they often find comprehensive logs greatly improve rigging safety.
Neglecting Lubrication ⚙️
Lubricate rigging screws regularly to prevent corrosion and ensure smooth operation. Use a suitable lubricant recommended by the manufacturer. Lubrication helps reduce friction and wear, preventing corrosion and ensuring smooth operation. Use a lubricant that is specifically designed for rigging screws and that is compatible with the material of the rigging screw and its mating components.
Apply the lubricant to the threads, end fittings, and other moving parts. Follow the manufacturer’s recommendations for the frequency of lubrication. In harsh environments or when the rigging screw is exposed to moisture or chemicals, more frequent lubrication may be required. Neglecting lubrication can lead to increased wear, corrosion, and ultimately, equipment failure.
Ignoring Signs of Corrosion 锈
Corrosion weakens rigging screws and can lead to failure. Protect rigging screws from exposure to corrosive environments and apply protective coatings as needed. Corrosion is the deterioration of a material due to chemical reactions with its environment. It can significantly weaken rigging screws and lead to premature failure. Signs of corrosion include rust, pitting, and discoloration.
To prevent corrosion, protect rigging screws from exposure to corrosive environments such as salt water, chemicals, and extreme humidity. Apply protective coatings such as paint, galvanizing, or epoxy to the rigging screw to create a barrier between the metal and the environment. Regularly inspect rigging screws for signs of corrosion and take corrective action as needed. In severe cases of corrosion, the rigging screw should be removed from service and replaced.
Choosing the Wrong Material for the Environment 🌊
Using Carbon Steel in Marine Environments ⚓
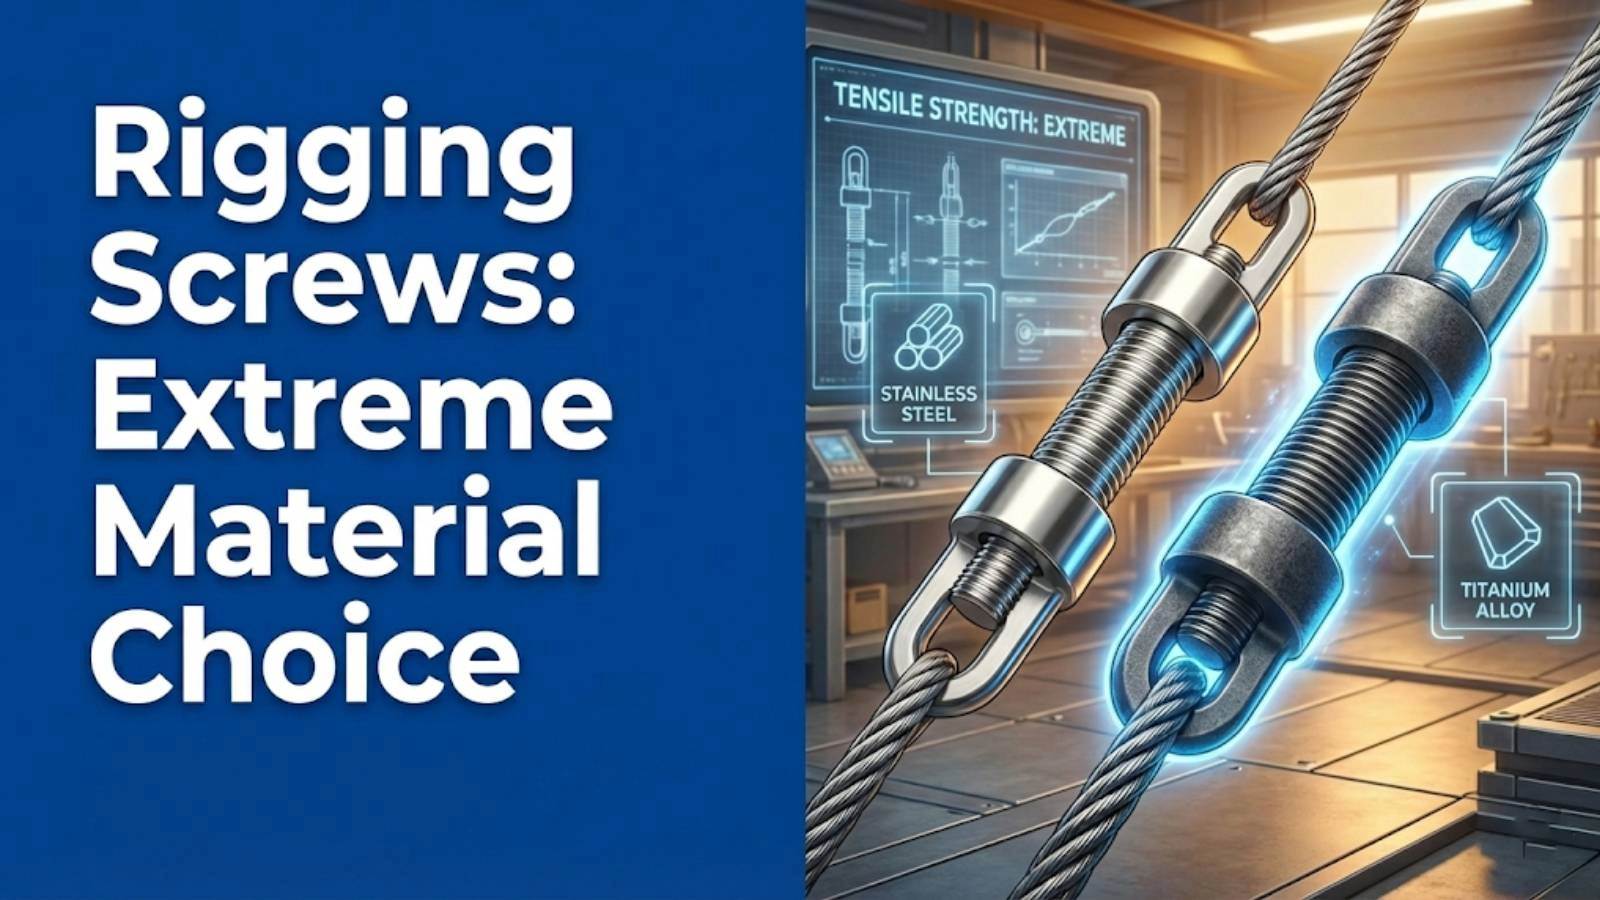
Carbon steel rigging screws are susceptible to corrosion in marine environments. Use stainless steel or galvanized steel for marine applications. Carbon steel is a strong and durable material, but it is also susceptible to corrosion, especially in marine environments where it is exposed to salt water. Corrosion can weaken carbon steel rigging screws and lead to premature failure.
For marine applications, use stainless steel or galvanized steel rigging screws. Stainless steel is highly resistant to corrosion and is ideal for use in saltwater environments. Galvanized steel is coated with a layer of zinc, which provides a barrier against corrosion. However, the galvanizing coating can be damaged over time, so regular inspections and maintenance are required.
Overlooking Chemical Compatibility 🧪
Certain chemicals can degrade rigging screw materials. Ensure that the rigging screw material is compatible with the chemicals it will be exposed to. Some chemicals can react with rigging screw materials, causing them to degrade or weaken. For example, certain acids can corrode steel, while some solvents can dissolve synthetic materials.
Before using rigging screws in an environment where they will be exposed to chemicals, consult a chemical compatibility chart or contact the manufacturer to ensure that the material is compatible with the chemicals in question. If the material is not compatible, use a different material or provide a protective barrier between the rigging screw and the chemicals. We’ve consistently seen that paying attention to chemical compatibility greatly extends the lifespan of rigging equipment.
Failing to Consider Temperature Extremes 🔥❄️
Extreme temperatures can affect the strength of rigging screws. Choose a material that is suitable for the expected temperature range. Extreme temperatures can affect the strength and performance of rigging screws. High temperatures can cause some materials to soften and lose strength, while low temperatures can make them brittle and more susceptible to fracture.
Choose a material that is suitable for the expected temperature range. Some materials, such as alloy steel, are designed to maintain their strength and ductility over a wide range of temperatures. Consult the manufacturer’s documentation to determine the temperature limits for the specific rigging screw material. If the rigging screw will be exposed to extreme temperatures, consider using a specialized material or providing insulation to protect it from the temperature extremes.
Understanding Certification and Standards 📜
Neglecting to Verify Certification 💯
Always verify that rigging screws are certified to meet relevant industry standards. Certification ensures that the rigging screw has been tested and meets specific performance requirements. Certification indicates that a rigging screw has been tested and meets specific performance requirements established by industry standards organizations such as ASME (American Society of Mechanical Engineers) or EN (European Norm).
Always verify that rigging screws are certified by a reputable organization before use. Look for a certification mark or label on the rigging screw or in the manufacturer’s documentation. Certification provides assurance that the rigging screw has been manufactured to a specific standard and that it will perform as expected under normal operating conditions. Ignoring certification can put workers at risk and lead to legal liabilities.
Ignoring Industry Standards (e.g., ASME, EN) ℹ️
Familiarize yourself with relevant industry standards, such as ASME and EN, and ensure that your rigging practices comply with these standards. Industry standards such as ASME and EN provide guidelines for the design, manufacture, testing, and use of rigging equipment. These standards are developed by experts in the field and are based on years of experience and research.
Familiarize yourself with the relevant industry standards for your specific application and ensure that your rigging practices comply with these standards. Industry standards cover topics such as material selection, load ratings, inspection procedures, and maintenance requirements. Following industry standards helps ensure the safety and reliability of rigging operations. A common mistake we help businesses fix is overlooking the latest updates to these crucial standards.
Choosing Non-Compliant Hardware 👎
Using non-compliant rigging hardware can put workers at risk and lead to legal liabilities. Always choose hardware that meets the required standards. Non-compliant rigging hardware does not meet the performance requirements established by industry standards. This can put workers at risk and lead to accidents, injuries, and equipment damage.
Always choose rigging hardware that meets the required standards for your specific application. Look for certification marks or labels that indicate compliance with relevant industry standards such as ASME or EN. Using non-compliant rigging hardware can also lead to legal liabilities and financial penalties.
Best Practices for Safe Rigging with Screws ✅
Develop a Comprehensive Rigging Plan 📝
A detailed rigging plan helps identify potential hazards and ensures that all rigging operations are performed safely and efficiently. A rigging plan is a detailed document that outlines the steps involved in a rigging operation, including the equipment to be used, the procedures to be followed, and the potential hazards to be addressed.
A comprehensive rigging plan helps identify potential hazards and ensures that all rigging operations are performed safely and efficiently. The rigging plan should be developed by a qualified person who is familiar with rigging equipment and procedures. It should be reviewed and approved by all personnel involved in the rigging operation. The rigging plan should include information such as the weight of the load, the type of rigging equipment to be used, the lifting points, the travel path, and the emergency procedures.
Provide Thorough Training for Rigging Personnel 👨🏫
Proper training is essential for ensuring that rigging personnel understand rigging screw terminology, safety procedures, and best practices. Training is essential for ensuring that rigging personnel understand rigging screw terminology, safety procedures, and best practices. Training should be provided by a qualified instructor who is familiar with rigging equipment and procedures.
The training should cover topics such as rigging screw terminology, load ratings, inspection procedures, maintenance requirements, and emergency procedures. Rigging personnel should be trained on the specific types of rigging equipment they will be using. Training should be ongoing and should be updated regularly to reflect changes in industry standards and best practices.
Implement Regular Inspections and Maintenance Programs 📅
Regular inspections and maintenance programs help identify and address potential problems before they lead to accidents or equipment failure. Regular inspections and maintenance programs are essential for ensuring the safety and reliability of rigging operations. Inspections should be performed before each use of the rigging equipment and periodically by a qualified person.
Maintenance should be performed according to the manufacturer’s recommendations and should include lubrication, cleaning, and replacement of worn or damaged parts. Keep a log of all inspections and maintenance activities to track the condition of the rigging equipment over time. Regular inspections and maintenance programs help identify and address potential problems before they lead to accidents or equipment failure.
| Component |
Description |
Common Use |
Material Options |
| Turnbuckle |
Adjustable fitting for tensioning cables or rods. |
Adjusting tension in wire ropes, cables, tie rods. |
Galvanized Steel, Stainless Steel |
| Shackle |
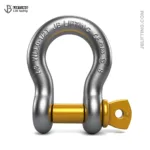
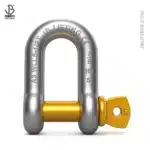
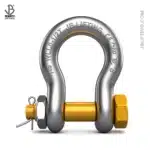
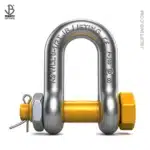
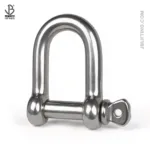
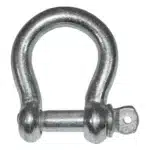
U-shaped fitting with a pin for connecting components. |
Connecting ropes, cables, and chains to other rigging hardware. |
Carbon Steel, Alloy Steel, Stainless Steel |
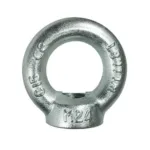
| Eye Bolt |
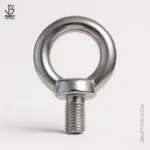
Bolt with a looped end for attaching to rigging. |
Providing attachment points for lifting and securing loads. |
Carbon Steel, Stainless Steel |
| Jaw End Fitting |
Fitting with a clevis-type end for pin connections. |
Quick connections and disconnections in adjustable systems. |
Carbon Steel, Stainless Steel |
| Hook End Fitting |
Fitting with a hook for quick attachment and release. |
Temporary connections, such as lifting with chain slings. |
Alloy Steel, Carbon Steel |
> “Safety is not an intellectual exercise to keep us thinking. It is a moral exercise to keep us living.” – Don Edgar, Safety Consultant
Conclusion
Understanding rigging screw terminology is not just about knowing the names of parts; it’s about ensuring the safety and efficiency of your operations. Avoiding these common mistakes protects your team, your equipment, and your bottom line. Rigging screw terminology isn’t just a collection of words; it’s the foundation of safe and successful lifting operations. In our experience with clients here at SSTC, we’ve seen firsthand how a solid grasp of these terms prevents accidents and saves time. By following these guidelines and continuously updating your knowledge, you’ll build a safer, more productive work environment.
FAQ Section
Q: What is the difference between a shackle and a turnbuckle?
A: A shackle is a U-shaped piece of metal with a pin or bolt across the opening, used to connect components. A turnbuckle is a device used to adjust tension or length of ropes, cables, or rods, usually consisting of two threaded eye bolts screwed into a small metal frame, one from each end.
Q: How often should rigging screws be inspected?
A: Rigging screws should be inspected before each use and periodically by a qualified person, with the frequency depending on the severity of the service conditions.
Q: What should I do if I find a damaged rigging screw?
A: Immediately remove the damaged rigging screw from service and replace it with a new, certified component. Do not attempt to repair damaged rigging screws.
Q: What is the importance of using the correct thread type on rigging screws?
A: Using the correct thread type ensures proper engagement and load distribution. Mismatched threads can weaken the connection and lead to failure.
Q: Where can I find the WLL of a rigging screw?
A: The WLL is typically marked on the rigging screw itself or found in the manufacturer’s documentation.