Fall Protection
Safety Harness: A Complete Guide for Ensuring Max Protection in 2024
Safety Harness is an essential piece of equipment in various industries, from construction and manufacturing to adventure...

When working at heights, your safety depends on how well you’re secured. Falls are the leading cause of fatalities in the construction industry, claiming the lives of over 400 workers in 2019 alone. One of the most critical pieces of personal protective equipment (PPE) in preventing such tragedies is the safety harness.
In this step-by-step guide, we’ll walk you through the correct procedure to wear a safety harness, helping you minimize risk and ensure full compliance with safety standards.

A safety harness is designed to distribute the force of a fall across the body and prevent serious injuries. It is widely used in:
Whether you’re a seasoned worker or new to high-risk tasks, understanding how to properly wear and adjust your harness is non-negotiable for workplace safety.
Before putting on a safety harness, take the time to inspect and prepare it. This is your first line of defense.
Proper preparation ensures the harness is safe to use and makes the donning process easier.
Pick up the harness by the D-ring (located at the back) and shake it out to untangle the straps. Put on the harness like a jacket, sliding your arms through the shoulder straps.
Connect the chest strap across your chest, slightly above the sternum.
Reach down and connect each leg strap, securing them firmly.
Confirm that all buckles—whether quick-connect, tongue-buckle, or pass-through—are securely fastened.
Using the D-ring, connect to a suitable anchor point with a lanyard or fall arrest system.
Before starting work:
Conduct a visual inspection or have a qualified supervisor verify.
Check that all straps are tight, secure, and untwisted.
Confirm that the harness fits well without restricting movement.
Putting on a safety harness correctly is fundamental to ensuring your safety in various settings. By following this step-by-step guide, you’ll not only master the art of donning a safety harness but also contribute to a safer and more secure environment for yourself and those around you. Remember, safety should always come first.
If you need top-quality height safety equipment including safety harnesses then don’t worry. Browse the safety equipment for height that we have available on our website!
Safety Harness: A Complete Guide for Ensuring Max Protection in 2024

Fall Restraint And Fall Arrest

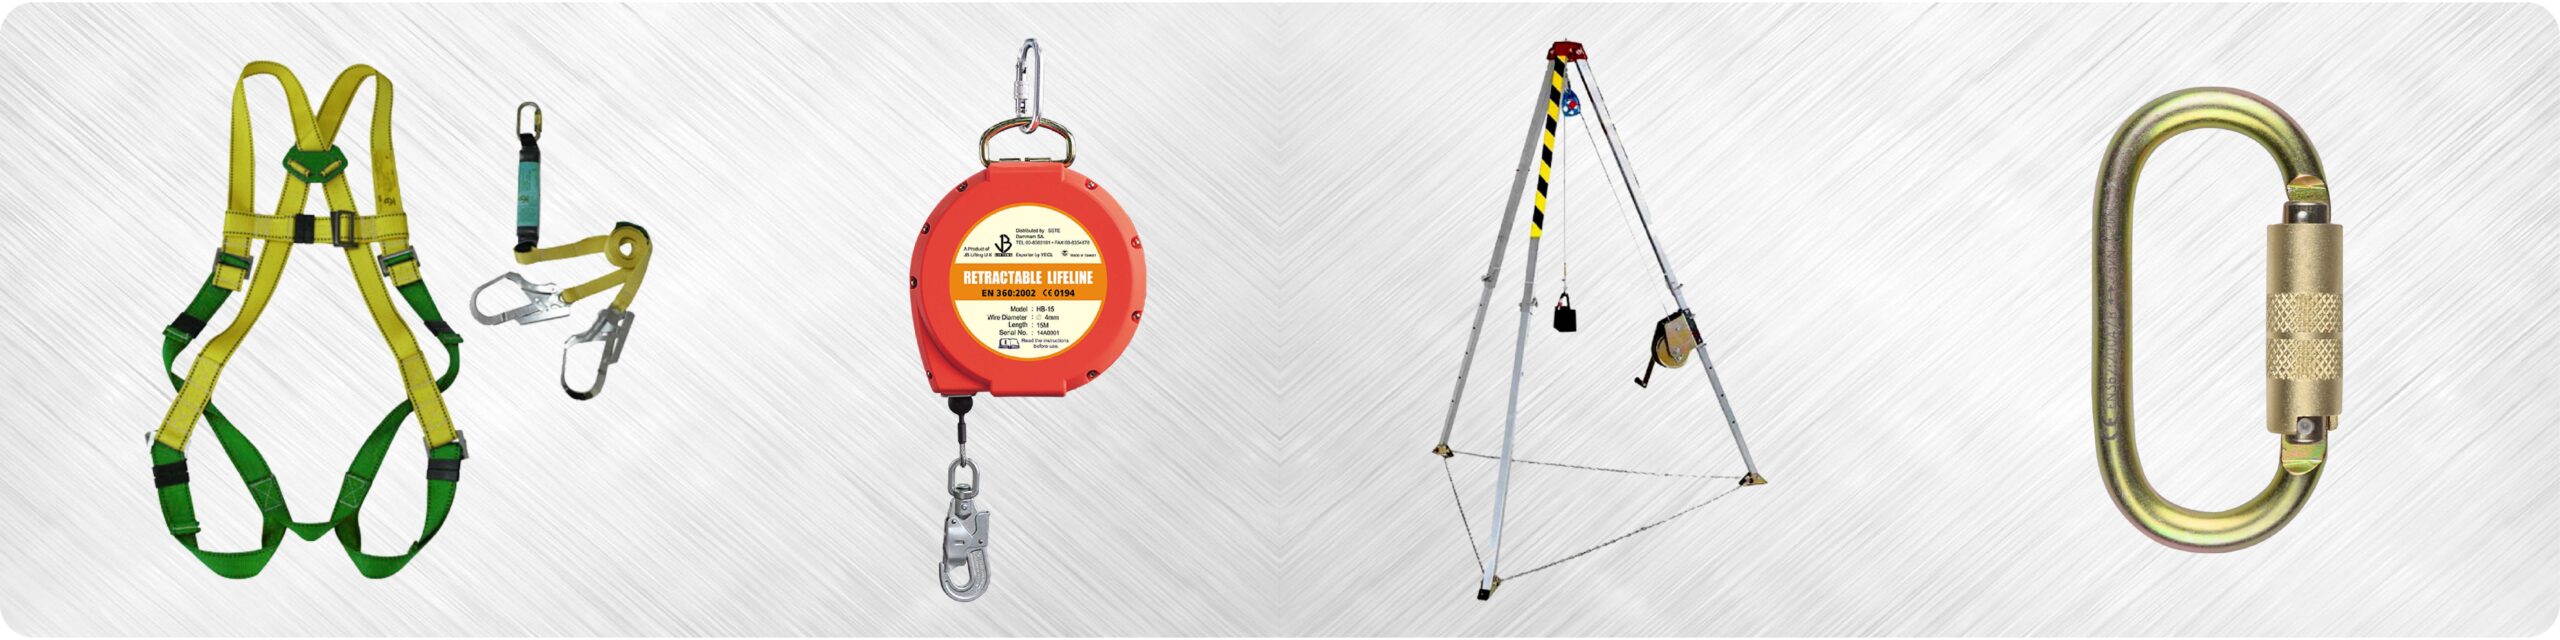
Step-by-Step Setup Guide for Confined Space Rescue Tripods

Top 10 Retractable Fall Arresters for Industrial Use in 2025-26

Top Industrial Uses for Twist Lock Auto Carabiners in 2025-26