Introduction: Why a Rigging Screw Upgrade Matters
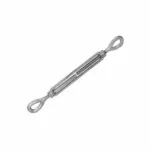
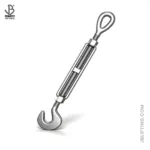
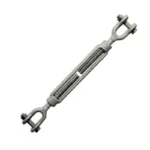
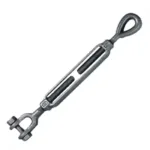
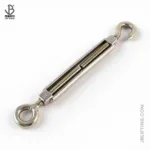
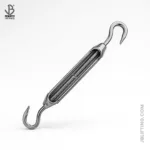
A rigging screw upgrade is a critical process that significantly enhances the safety and performance of various systems, especially in marine and industrial settings. Rigging screws, also known as turnbuckles or bottlescrews, are essential components used to adjust tension in wire ropes, cables, and other rigging hardware. Upgrading these components ensures that your system operates reliably and safely under intended loads and conditions.
Many people underestimate the importance of regular rigging screw maintenance and timely upgrades. Some believe that if a rigging screw “looks fine,” it’s safe to use. This misconception can lead to catastrophic failures. A seemingly minor flaw in a rigging screw can quickly escalate into a major safety hazard, particularly when subjected to heavy loads or harsh environmental conditions.
Performing a rigging screw upgrade incorrectly can introduce a host of potential dangers. Overlooking load capacity, neglecting material compatibility, or using improper installation techniques can compromise the integrity of the entire rigging system. These errors can result in equipment damage, personal injury, or even fatal accidents. Therefore, understanding the correct procedures and considerations is paramount.
Mistake #1: Ignoring Load Capacity Ratings
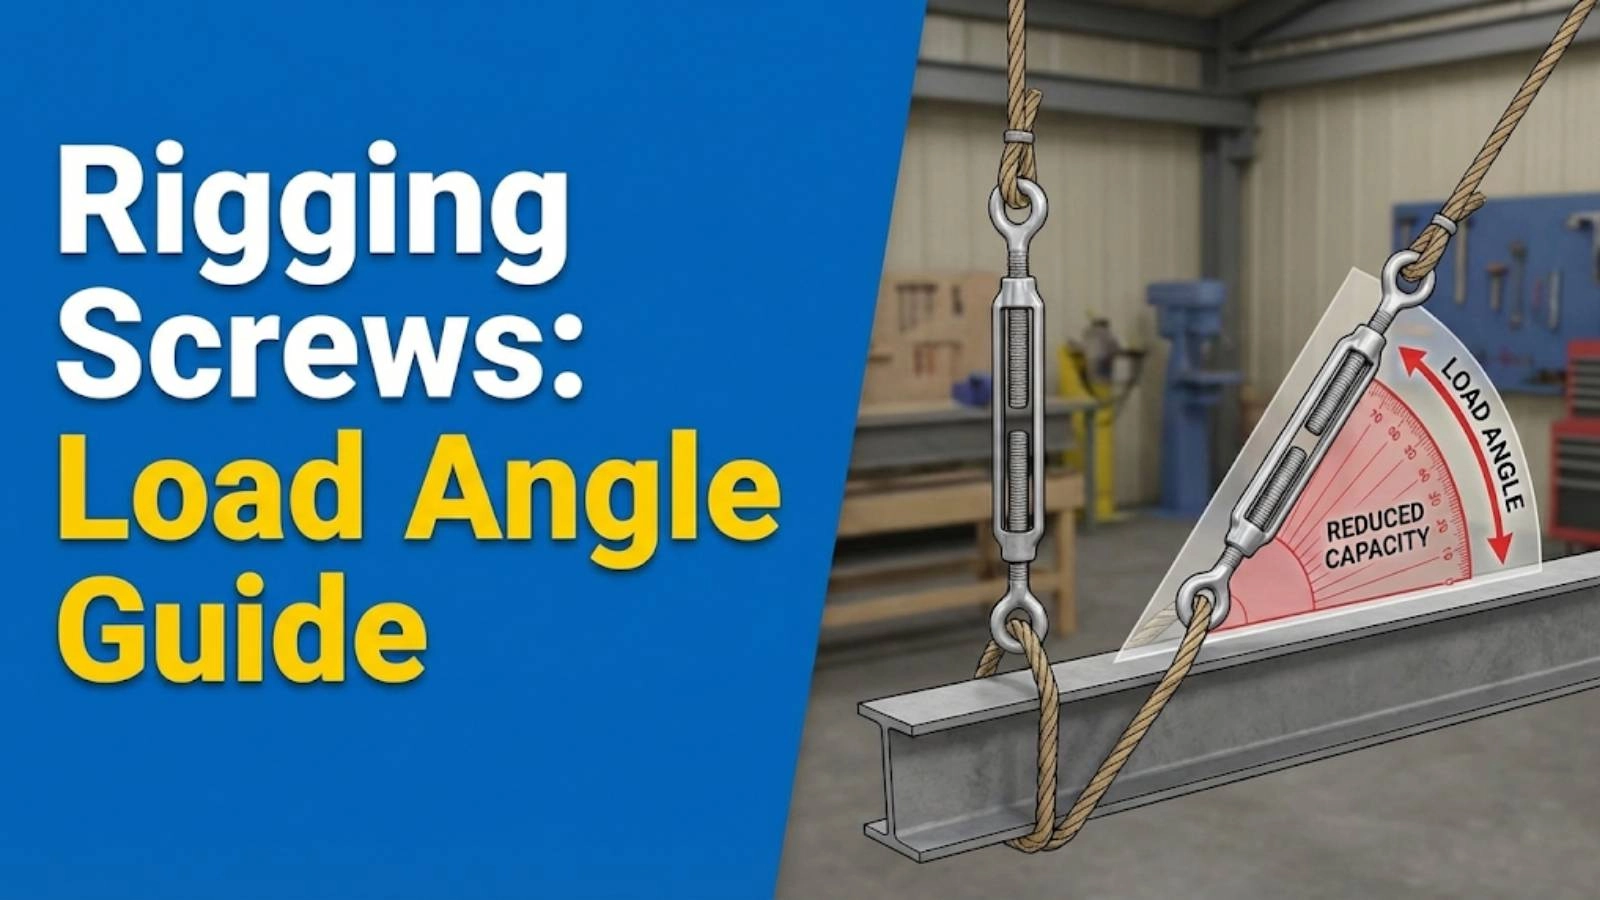
Understanding and adhering to load capacity ratings is the most crucial aspect of any rigging operation. The Working Load Limit (WLL) specifies the maximum load that a rigging component can safely handle, while the breaking strength indicates the point at which the component will fail. Ignoring these ratings can have severe consequences.
Using undersized rigging screws is a critical error that can lead to immediate and catastrophic failure. When a rigging screw is subjected to a load exceeding its WLL, it becomes highly susceptible to deformation, cracking, or complete breakage. This not only jeopardizes the equipment being supported but also poses a significant risk to anyone in the vicinity.
We once had a client who, in an attempt to save costs, installed rigging screws with an insufficient load capacity on a sailboat. During a routine sail, one of the undersized rigging screws snapped under increased wind load, causing the mast to partially collapse. Fortunately, no one was injured, but the incident highlighted the critical importance of adhering to load capacity ratings. Our team in Dubai often emphasizes this point during training sessions.
To properly calculate load requirements for your rigging, you must consider the weight of the load, dynamic forces (such as wind or motion), and any additional safety factors. It’s always prudent to overestimate rather than underestimate the load requirements to ensure a safe margin of error. Consulting with a qualified rigger or engineer is highly recommended to perform accurate load calculations.
Mistake #2: Neglecting Material Compatibility
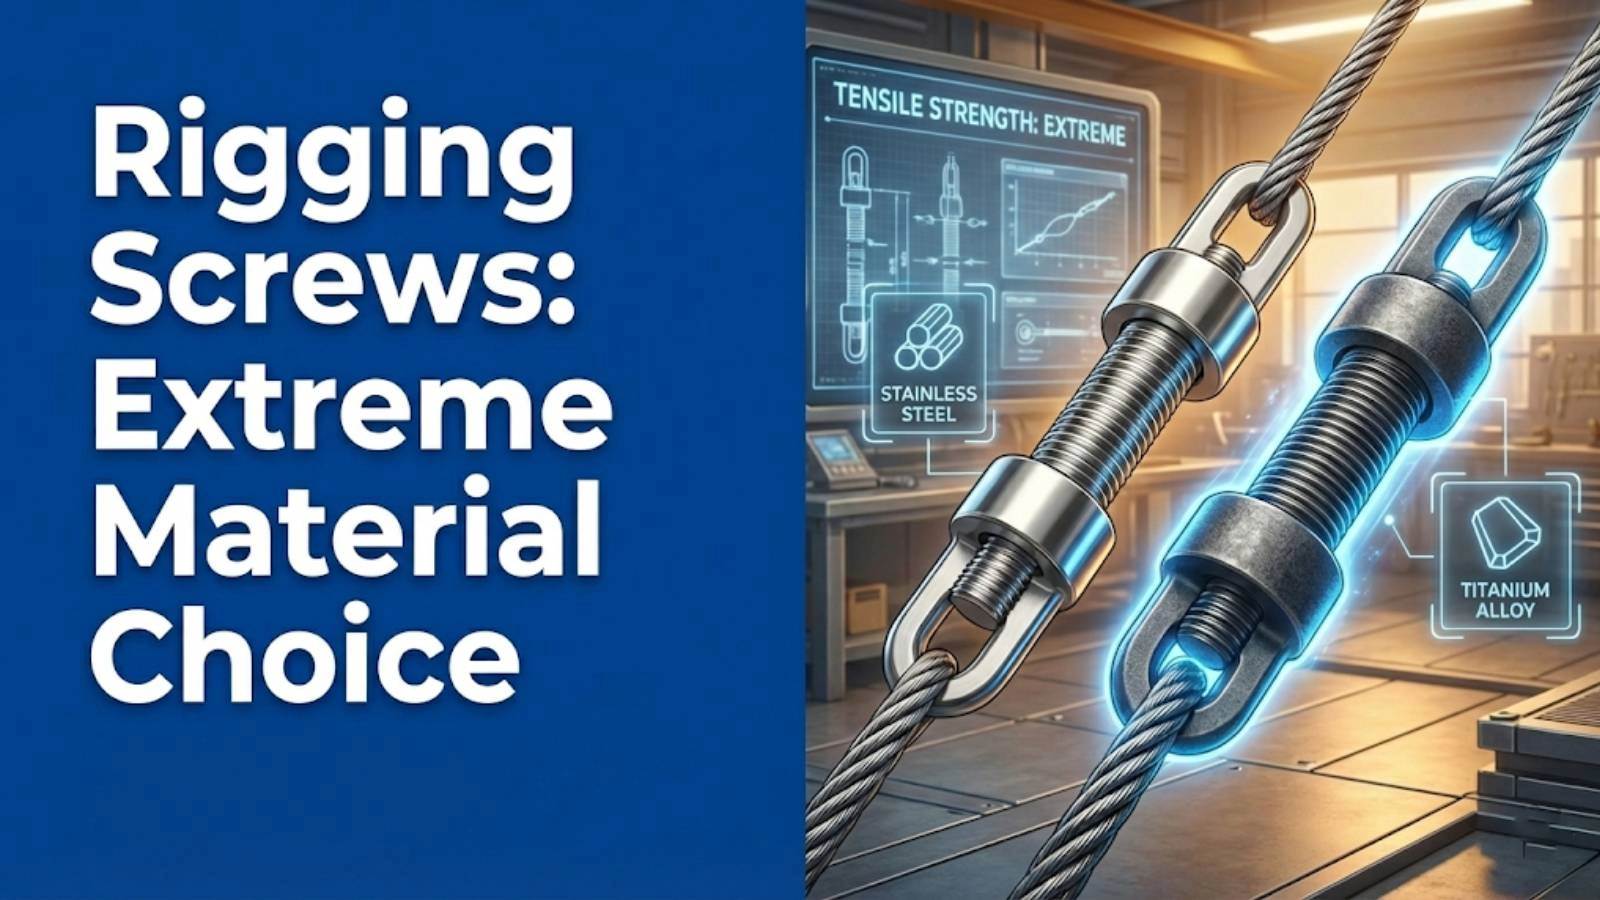
Understanding the different types of stainless steel and their properties is crucial when performing a rigging screw upgrade. The two most common types are 304 and 316 stainless steel. While both offer corrosion resistance, 316 stainless steel contains molybdenum, which provides superior protection against chloride corrosion, making it ideal for marine environments.
The dangers of mixing metals can lead to galvanic corrosion, an electrochemical process where one metal corrodes preferentially to another when they are in electrical contact and immersed in an electrolyte (such as saltwater). This process can rapidly degrade the integrity of the rigging screws and other hardware, leading to premature failure.
To identify and prevent corrosion issues, regularly inspect your rigging for signs of rust, pitting, or discoloration. Ensure that all components are made of compatible materials and consider applying a protective coating to minimize exposure to corrosive elements. Always use stainless steel hardware with stainless steel rigging screws to avoid galvanic corrosion.
Choosing the right material for your specific environment is essential. For saltwater environments, always opt for 316 stainless steel due to its enhanced corrosion resistance. In freshwater environments, 304 stainless steel may be sufficient, but it’s still advisable to use 316 for added protection. If you’re unsure, consulting with a marine hardware specialist can help you make the right choice.
Mistake #3: Skipping Thorough Inspection
A thorough visual inspection is crucial before performing any rigging screw upgrade. This process helps identify potential issues that could compromise the safety and performance of the upgraded rigging system. Overlooking this step can lead to using damaged or weakened components, which can result in catastrophic failures.
Checking for cracks, deformations, and wear is a critical part of the inspection process. Cracks can significantly reduce the strength of the rigging screw, while deformations indicate that the screw has been subjected to excessive loads. Wear, especially on the threads, can lead to reduced holding power and potential loosening under load.
Using magnifying glasses and other inspection tools can help you identify subtle signs of damage that may not be visible to the naked eye. A magnifying glass can reveal small cracks or pitting, while a thread gauge can help assess the condition of the threads. Proper lighting is also essential to ensure a thorough inspection.
Recognizing signs of fatigue in rigging screws is essential for preventing failures. Fatigue occurs when a component is subjected to repeated stress cycles, leading to microscopic cracks that gradually grow over time. Signs of fatigue include discoloration, surface roughening, and the presence of fine cracks. Replacing rigging screws at the first sign of fatigue can prevent more serious problems down the line.
Mistake #4: Improper Installation Techniques
Improper installation techniques can severely compromise the effectiveness of a rigging screw upgrade. Over-tightening and under-tightening are two common mistakes that can lead to significant problems. Attention to detail and proper technique are paramount.
Over-tightening rigging screws can damage the threads, reducing their strength and increasing the risk of failure. When threads are over-tightened, they can strip or deform, making it difficult to properly adjust the screw in the future. Always use a torque wrench to ensure that the screws are tightened to the manufacturer’s specified torque.
Under-tightening rigging screws can result in them loosening under load, which can lead to instability and potential failure of the rigging system. When screws are not tightened sufficiently, they are more likely to vibrate loose or slip, especially under dynamic loads. Regularly check the tightness of rigging screws and re-tighten as necessary.
Using the correct tools for tightening and adjusting rigging screws is essential for proper installation. A properly sized wrench or adjustable spanner is needed to avoid damaging the screw head or threads. If a turnbuckle is difficult to adjust, do not force it. Applying penetrating oil and using a cheater bar for added leverage can help loosen corroded or seized screws.
Applying appropriate lubricants and thread sealants can prevent corrosion and ensure smooth adjustment of rigging screws. Lubricants reduce friction between the threads, making it easier to tighten and adjust the screws. Thread sealants prevent moisture and contaminants from entering the threads, which can lead to corrosion. Always use lubricants and sealants that are compatible with the materials used in the rigging system.
Mistake #5: Forgetting About Thread Engagement
Ensuring sufficient thread engagement is critical for optimal strength and safety during a rigging screw upgrade. Inadequate thread engagement can significantly reduce the load-bearing capacity of the screw, increasing the risk of failure under stress.
Minimum thread engagement guidelines vary depending on the screw size and material. Generally, the thread engagement should be at least equal to the diameter of the screw. For example, a 1/2-inch screw should have at least 1/2 inch of thread engagement. Consult with a rigging expert or the manufacturer’s specifications for precise guidelines.
The consequences of inadequate thread engagement can be severe. If the thread engagement is insufficient, the screw may strip or pull out under load, leading to instability and potential failure of the rigging system. This can result in equipment damage, personal injury, or even fatal accidents.
Using shims or spacers can improve thread engagement when necessary. If the available thread engagement is less than the recommended minimum, shims or spacers can be used to increase the engagement depth. Ensure that the shims or spacers are made of compatible materials and are properly sized to provide adequate support.
Mistake #6: Overlooking Lock Nut and Locking Mechanisms
The importance of lock nuts or other locking devices cannot be overstated when it comes to securing rigging screws. These mechanisms prevent the screws from loosening due to vibration or other forces, ensuring the stability and safety of the rigging system.
Different types of locking mechanisms are available, including split pins, locking wires, and self-locking nuts. Split pins are inserted through a hole in the screw and a corresponding hole in the nut, preventing the nut from rotating. Locking wires are twisted around the screw and nut to provide a similar locking effect. Self-locking nuts have a built-in mechanism that resists loosening, such as a nylon insert or a deformed thread.
To properly install and secure locking devices, follow the manufacturer’s instructions carefully. Ensure that the locking device is the correct size and type for the screw and nut being used. Tighten the nut to the specified torque and then install the locking device to prevent it from loosening.
Checking locking mechanisms for wear and tear is an essential part of regular rigging maintenance. Over time, locking devices can corrode, deform, or break, reducing their effectiveness. Inspect locking devices regularly and replace them as necessary to ensure they are functioning properly.
Mistake #7: Failing to Document the Upgrade
Keeping records of rigging upgrades is essential for tracking maintenance, ensuring safety, and facilitating future inspections. This documentation provides a valuable history of the rigging system, making it easier to identify potential issues and plan for future maintenance.
Documenting the date, type of screws, and installation details is crucial. Record the date of the upgrade, the specific type and size of rigging screws used, and any relevant installation details, such as the torque applied and the type of locking mechanism used. This information can be invaluable for future reference.
Using a rigging log or maintenance schedule can help you track the condition of your rigging and plan for future maintenance. A rigging log is a detailed record of all maintenance activities performed on the rigging system, including inspections, repairs, and upgrades. A maintenance schedule outlines a plan for regular inspections and maintenance tasks, ensuring that the rigging system is properly maintained over time.
The benefits of having a professional rigging inspection report include expert assessment, compliance with safety standards, and reduced liability. A professional rigger can thoroughly inspect the rigging system, identify potential issues, and provide recommendations for repairs or upgrades. The inspection report serves as a valuable record of the condition of the rigging system, demonstrating due diligence and compliance with safety standards.
Mistake #8: Inadequate Maintenance Post-Upgrade
Regular inspection and cleaning schedules are crucial for maintaining the integrity and performance of upgraded rigging screws. Post-upgrade maintenance is a critical component for long-term reliability and safety.
Lubricating threads to prevent corrosion and ensure smooth adjustment is a key maintenance task. Applying a suitable lubricant to the threads of the rigging screws reduces friction and prevents corrosion, making it easier to adjust the screws and extending their lifespan. Use a lubricant that is compatible with the materials used in the rigging system and apply it regularly as part of the maintenance schedule.
Checking for signs of wear, corrosion, or loosening is essential for identifying potential problems early on. Regularly inspect the rigging screws for signs of wear, such as cracks, deformations, or pitting. Also, check for signs of corrosion, such as rust or discoloration. If any of these issues are detected, take immediate action to repair or replace the affected components.
Replacing worn or damaged rigging screws promptly is crucial for preventing failures. If a rigging screw shows signs of wear, corrosion, or damage, replace it immediately. Continuing to use a worn or damaged screw can compromise the safety and performance of the rigging system and increase the risk of failure.
Expert Insight: Choosing the Right Professional
Choosing the right professional for your rigging screw upgrade is essential for ensuring safety, compliance, and optimal performance. A qualified and experienced rigger can provide expert guidance, perform accurate load calculations, and ensure that the upgrade is done correctly.
Qualities of a certified and experienced rigger include proper certifications, extensive experience, and a strong reputation. Look for a rigger who is certified by a reputable organization and has a proven track record of successful rigging upgrades. Check online reviews and ask for references to assess the rigger’s reputation and experience.
Questions to ask before hiring a rigger include their qualifications, experience, and insurance coverage. Ask the rigger about their certifications and experience performing similar rigging upgrades. Also, ask for proof of insurance to ensure that you are protected in case of accidents or damage.
The value of professional rigging inspections extends beyond just safety. Regular inspections can identify potential problems early on, preventing costly repairs and downtime. A professional rigger can also provide valuable advice on maintenance and best practices for extending the lifespan of your rigging system.
“A comprehensive rigging inspection can uncover hidden issues that, if left unaddressed, could lead to significant safety risks and financial losses.” – Michael Johnson, Lead Marine Surveyor
Troubleshooting: Common Rigging Screw Upgrade Problems
Even with careful planning and execution, you might encounter some common problems during a rigging screw upgrade. Addressing these issues safely and effectively is crucial for ensuring the success of the upgrade.
Difficulty loosening old rigging screws due to corrosion or seizing is a common issue. Apply penetrating oil to the threads and let it soak for several hours before attempting to loosen the screws. If the screws are still difficult to loosen, use a cheater bar for added leverage. Avoid applying excessive force, which can damage the screws or the surrounding hardware.
Stripped threads during installation can occur if the screws are over-tightened or if the threads are damaged. If you strip the threads, stop immediately and replace the screw. Do not attempt to force the screw, as this can cause further damage. Ensure that you are using the correct tools and torque settings during installation to prevent stripped threads.
Locking mechanisms failing or corroding can compromise the security of the rigging system. Regularly inspect the locking mechanisms for signs of wear, corrosion, or damage. If a locking mechanism is failing, replace it immediately. Consider using a higher-quality locking mechanism that is more resistant to corrosion.
To address these issues safely and effectively, always use the correct tools and techniques. Wear appropriate safety gear, such as gloves and eye protection, to prevent injuries. If you are unsure about how to address a particular issue, consult with a qualified rigger or engineer.
| Problem |
Possible Cause |
Solution |
| Difficulty Loosening Old Screws |
Corrosion, Seizing |
Apply penetrating oil, use heat, use a cheater bar |
| Stripped Threads |
Over-tightening, Damaged Threads |
Replace screw, use correct torque settings |
| Locking Mechanism Failure |
Wear, Corrosion |
Replace locking mechanism, use corrosion-resistant materials |
| Insufficient Thread Engagement |
Incorrect Screw Size, Damaged Threads |
Use shims/spacers, replace screw with correct size |
| Metal Incompatibility (Corrosion) |
Mixing Stainless Steel Grades, Contact with Dissimilar Metals |
Use compatible materials, apply protective coatings |
Conclusion: A Safer, More Efficient Rigging System
By carefully avoiding these common mistakes, you can ensure a successful rigging screw upgrade that enhances the safety and performance of your system. The long-term benefits of a properly executed upgrade include increased reliability, reduced maintenance costs, and improved safety for personnel and equipment. Understanding load capacities, material compatibility, inspection techniques, and proper installation methods is crucial for achieving these benefits.
We at Safe and Secure Trading Company are committed to providing you with the expertise and resources you need to perform rigging upgrades safely and effectively. By following these guidelines and seeking professional assistance when needed, you can achieve a safer, more efficient rigging system.
FAQ Section
Q: How often should I inspect my rigging screws?
A: Rigging screws should be inspected at least annually, and more frequently if they are subjected to heavy use or harsh environmental conditions. Regular inspections can help identify potential problems early on, preventing costly repairs and downtime.
Q: What type of lubricant should I use on my rigging screws?
A: Use a marine-grade lubricant that is specifically designed for stainless steel. These lubricants provide excellent corrosion protection and reduce friction, making it easier to adjust the screws.
Q: How do I know if my rigging screws need to be replaced?
A: Replace your rigging screws if they show signs of wear, corrosion, or damage, such as cracks, deformations, or pitting. Also, replace the screws if they are difficult to adjust or if the threads are stripped.
Q: Can I upgrade my rigging screws myself, or should I hire a professional?
A: While some rigging upgrades can be performed by experienced individuals, it is generally recommended to hire a professional rigger. A professional rigger has the expertise, tools, and equipment to perform the upgrade safely and correctly.
Q: What is the difference between 304 and 316 stainless steel?
A: 316 stainless steel contains molybdenum, which provides superior corrosion resistance compared to 304 stainless steel. This makes 316 stainless steel ideal for marine environments, where exposure to saltwater is common.
Q: How do I calculate the correct load capacity for my rigging screws?
A: To calculate the correct load capacity, consider the weight of the load, dynamic forces, and any additional safety factors. Consult with a qualified rigger or engineer to perform accurate load calculations.
Q: What are the potential consequences of using undersized rigging screws?
A: Using undersized rigging screws can lead to immediate and catastrophic failure of the rigging system. This can result in equipment damage, personal injury, or even fatal accidents.
Q: How important is thread engagement in rigging screws?
A: Ensuring sufficient thread engagement is critical for optimal strength and safety. Inadequate thread engagement can significantly reduce the load-bearing capacity of the screw, increasing the risk of failure under stress.
Q: What are the benefits of using locking mechanisms on rigging screws?
A: Locking mechanisms prevent the screws from loosening due to vibration or other forces, ensuring the stability and safety of the rigging system. Different types of locking mechanisms include split pins, locking wires, and self-locking nuts.
Q: Why is it important to document a rigging screw upgrade?
A: Keeping records of rigging upgrades is essential for tracking maintenance, ensuring safety, and facilitating future inspections. This documentation provides a valuable history of the rigging system, making it easier to identify potential issues and plan for future maintenance.